> ## Documentation Index
> Fetch the complete documentation index at: https://sonamu.cartanova.ai/llms.txt
> Use this file to discover all available pages before exploring further.
# Development Workflow
> Understanding Sonamu's complete development cycle
Sonamu provides an entity-centric development workflow. This guide explains the complete flow of adding and modifying features in a Sonamu project.
## Development Cycle Overview
Sonamu development follows this cycle:
Define the entity structure in Sonamu UI.
Create or modify database tables.Auto-generate Model and test files.
Add business logic to the generated Model files.
Synchronize changes with the frontend.Test the code you've written.
Implement UI using the auto-generated Services.
## Step 1: Entity Design and Definition
### Create Entity in Sonamu UI
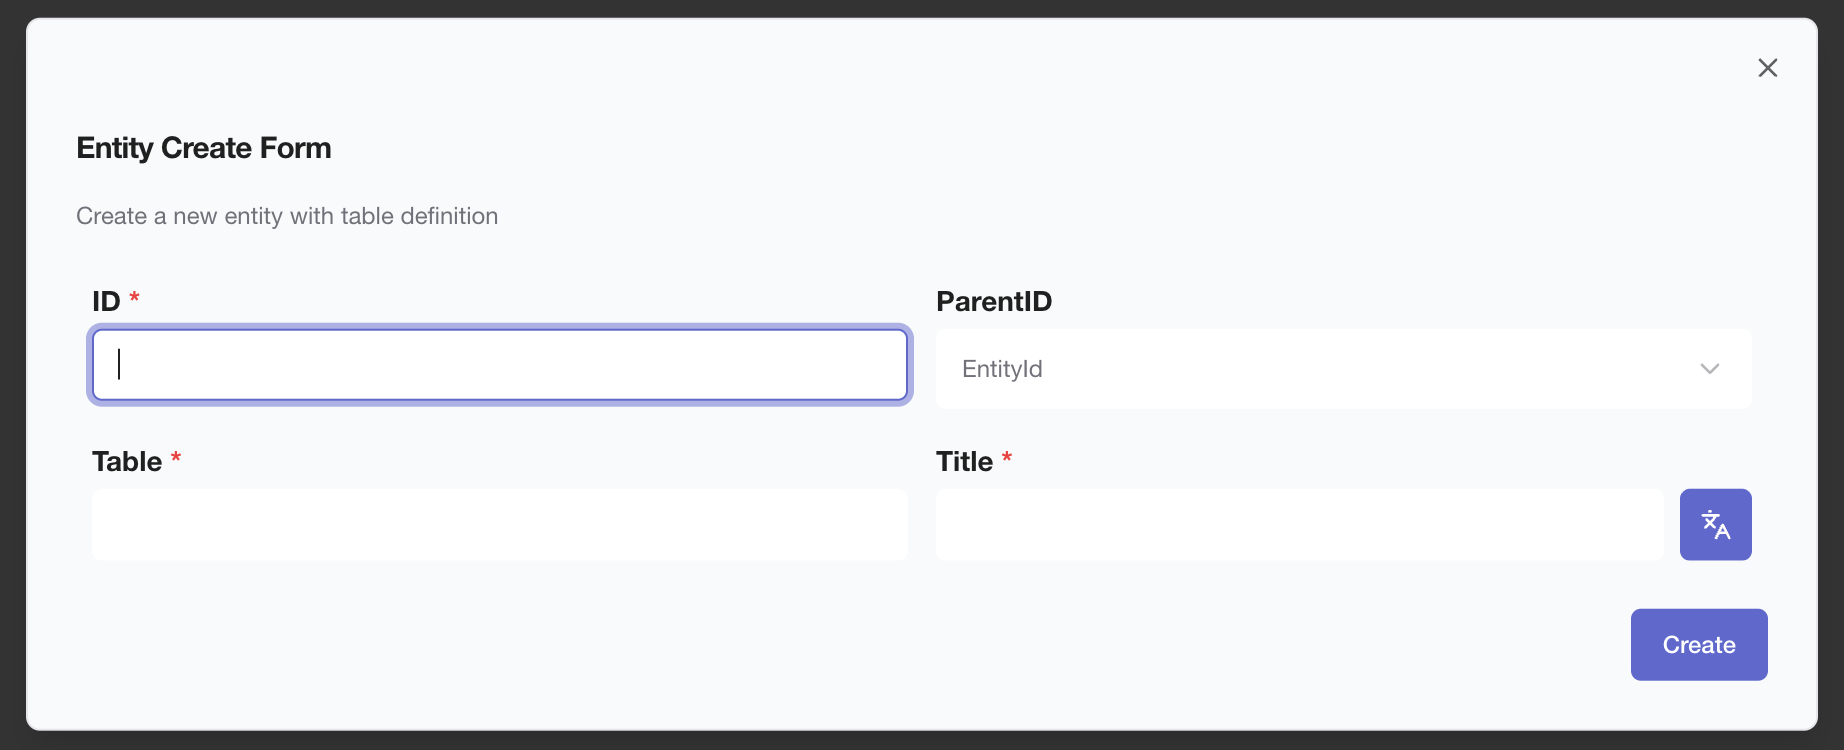
Development always starts by defining entities in Sonamu UI.
```bash theme={null}
# Run API server (includes Sonamu UI)
cd api
pnpm dev
```
Access [http://localhost:34900/sonamu-ui](http://localhost:34900/sonamu-ui) in your browser to:
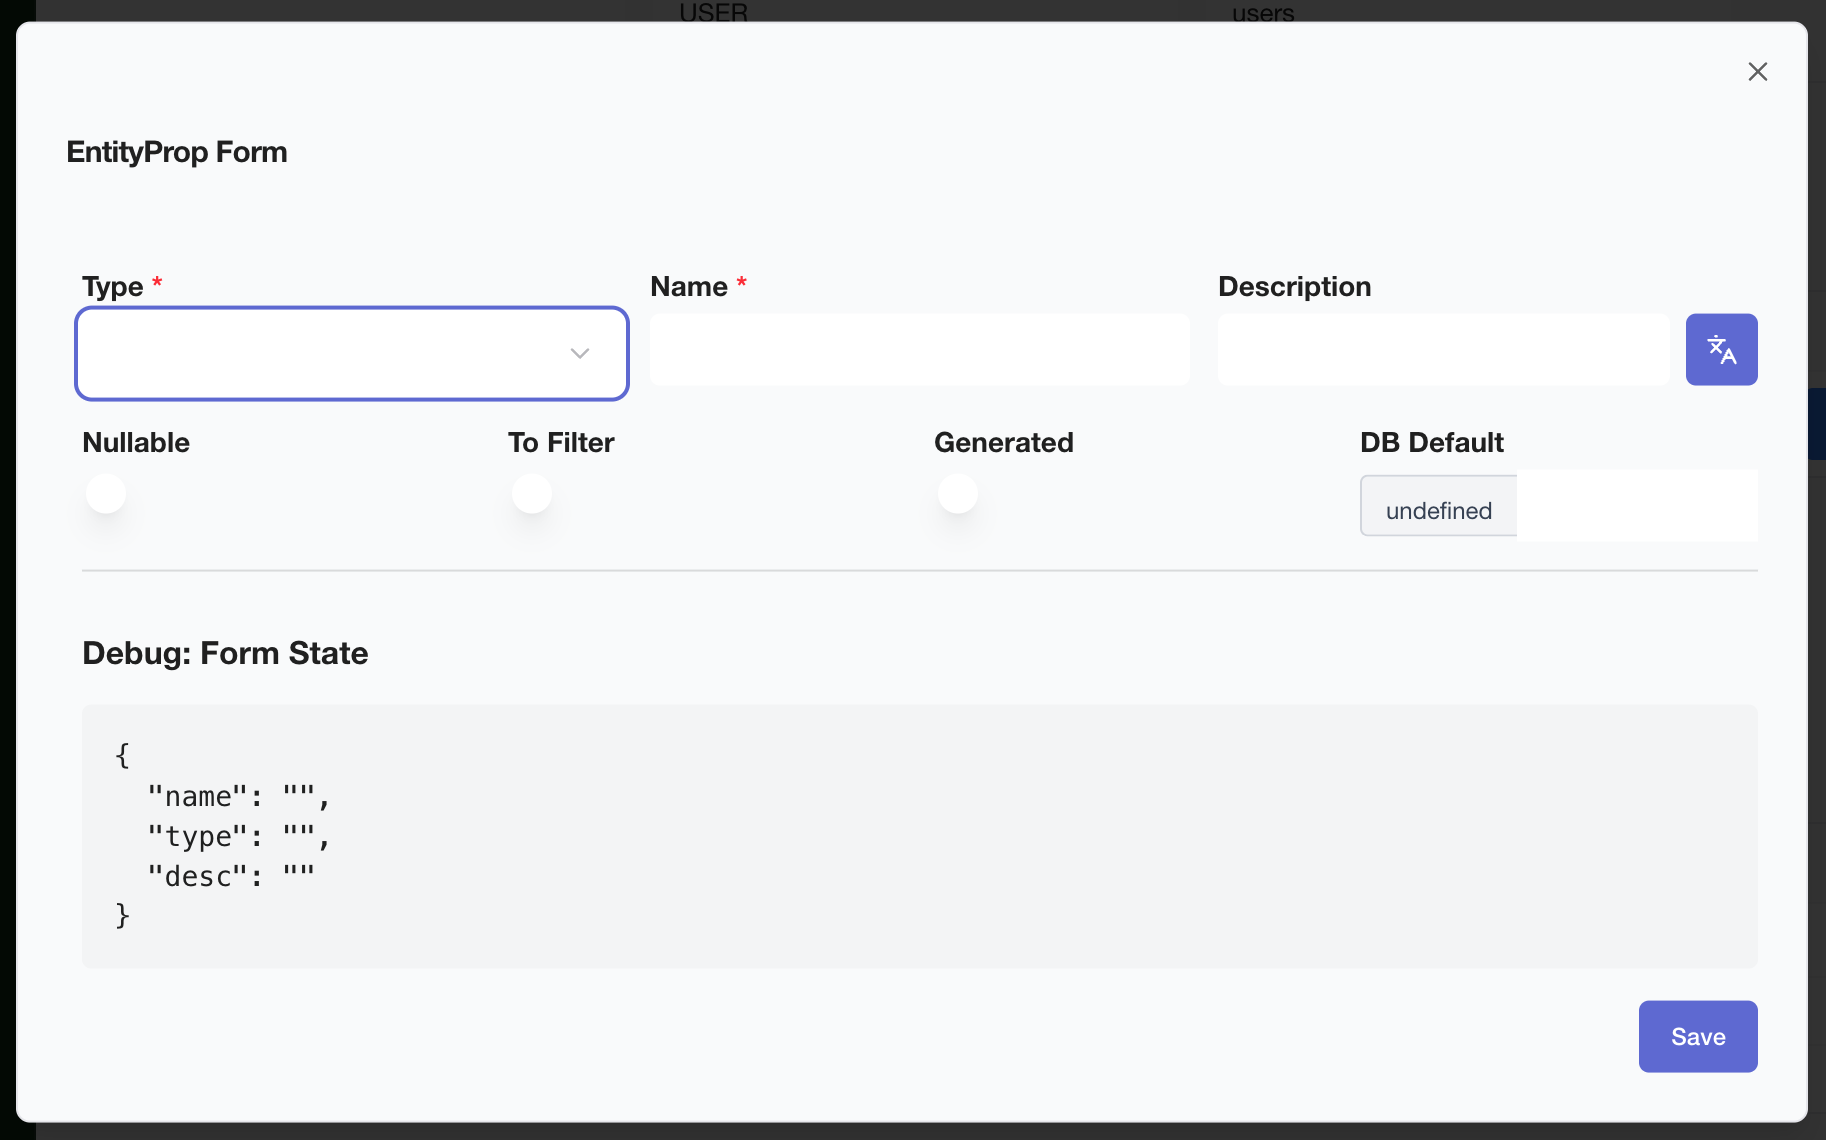
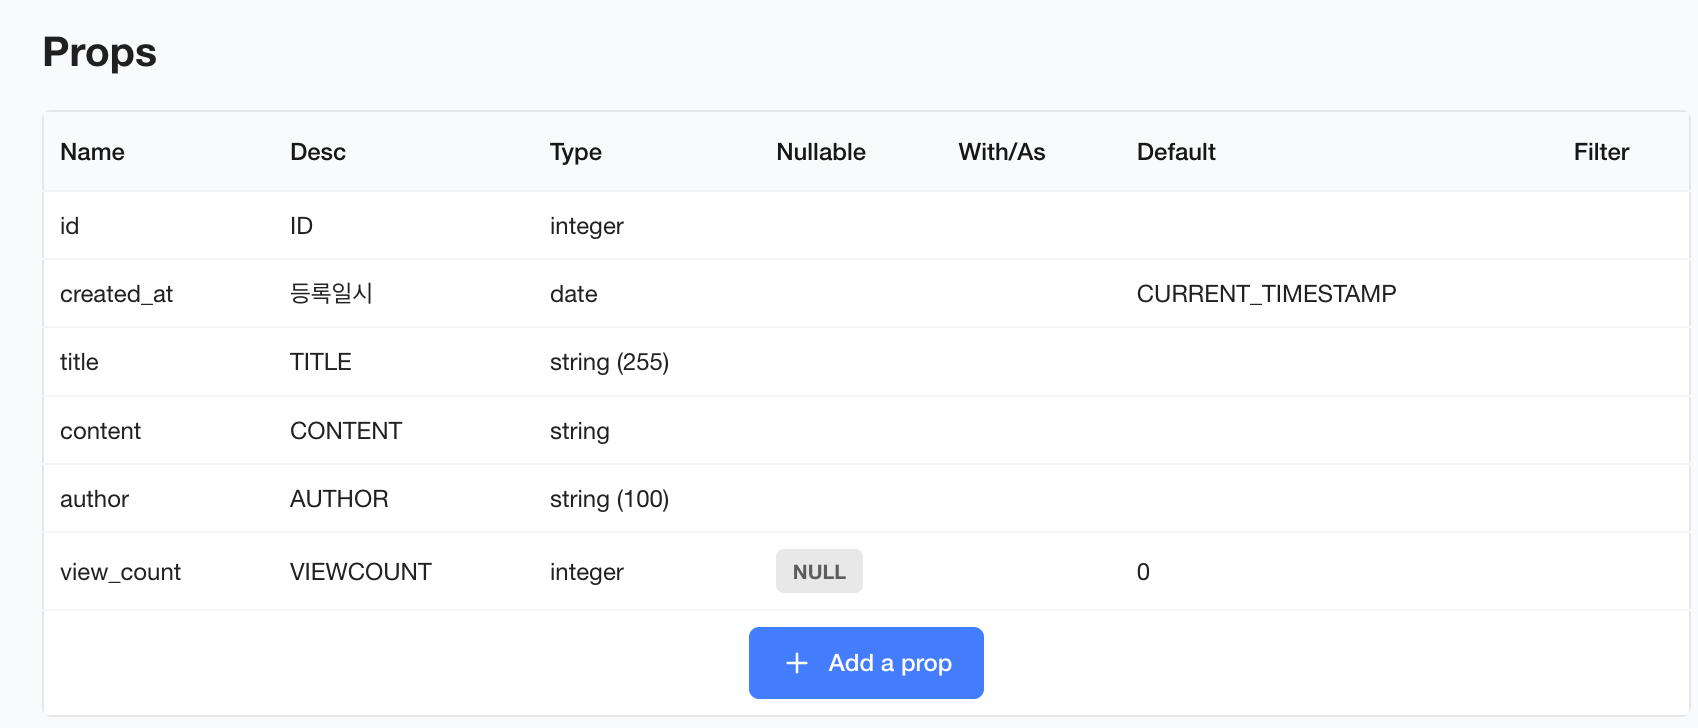
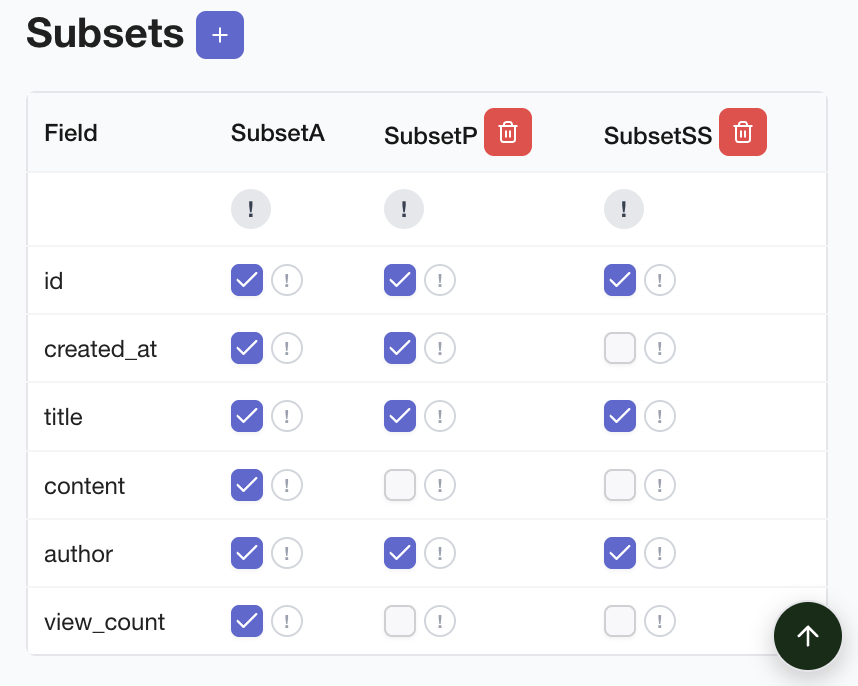
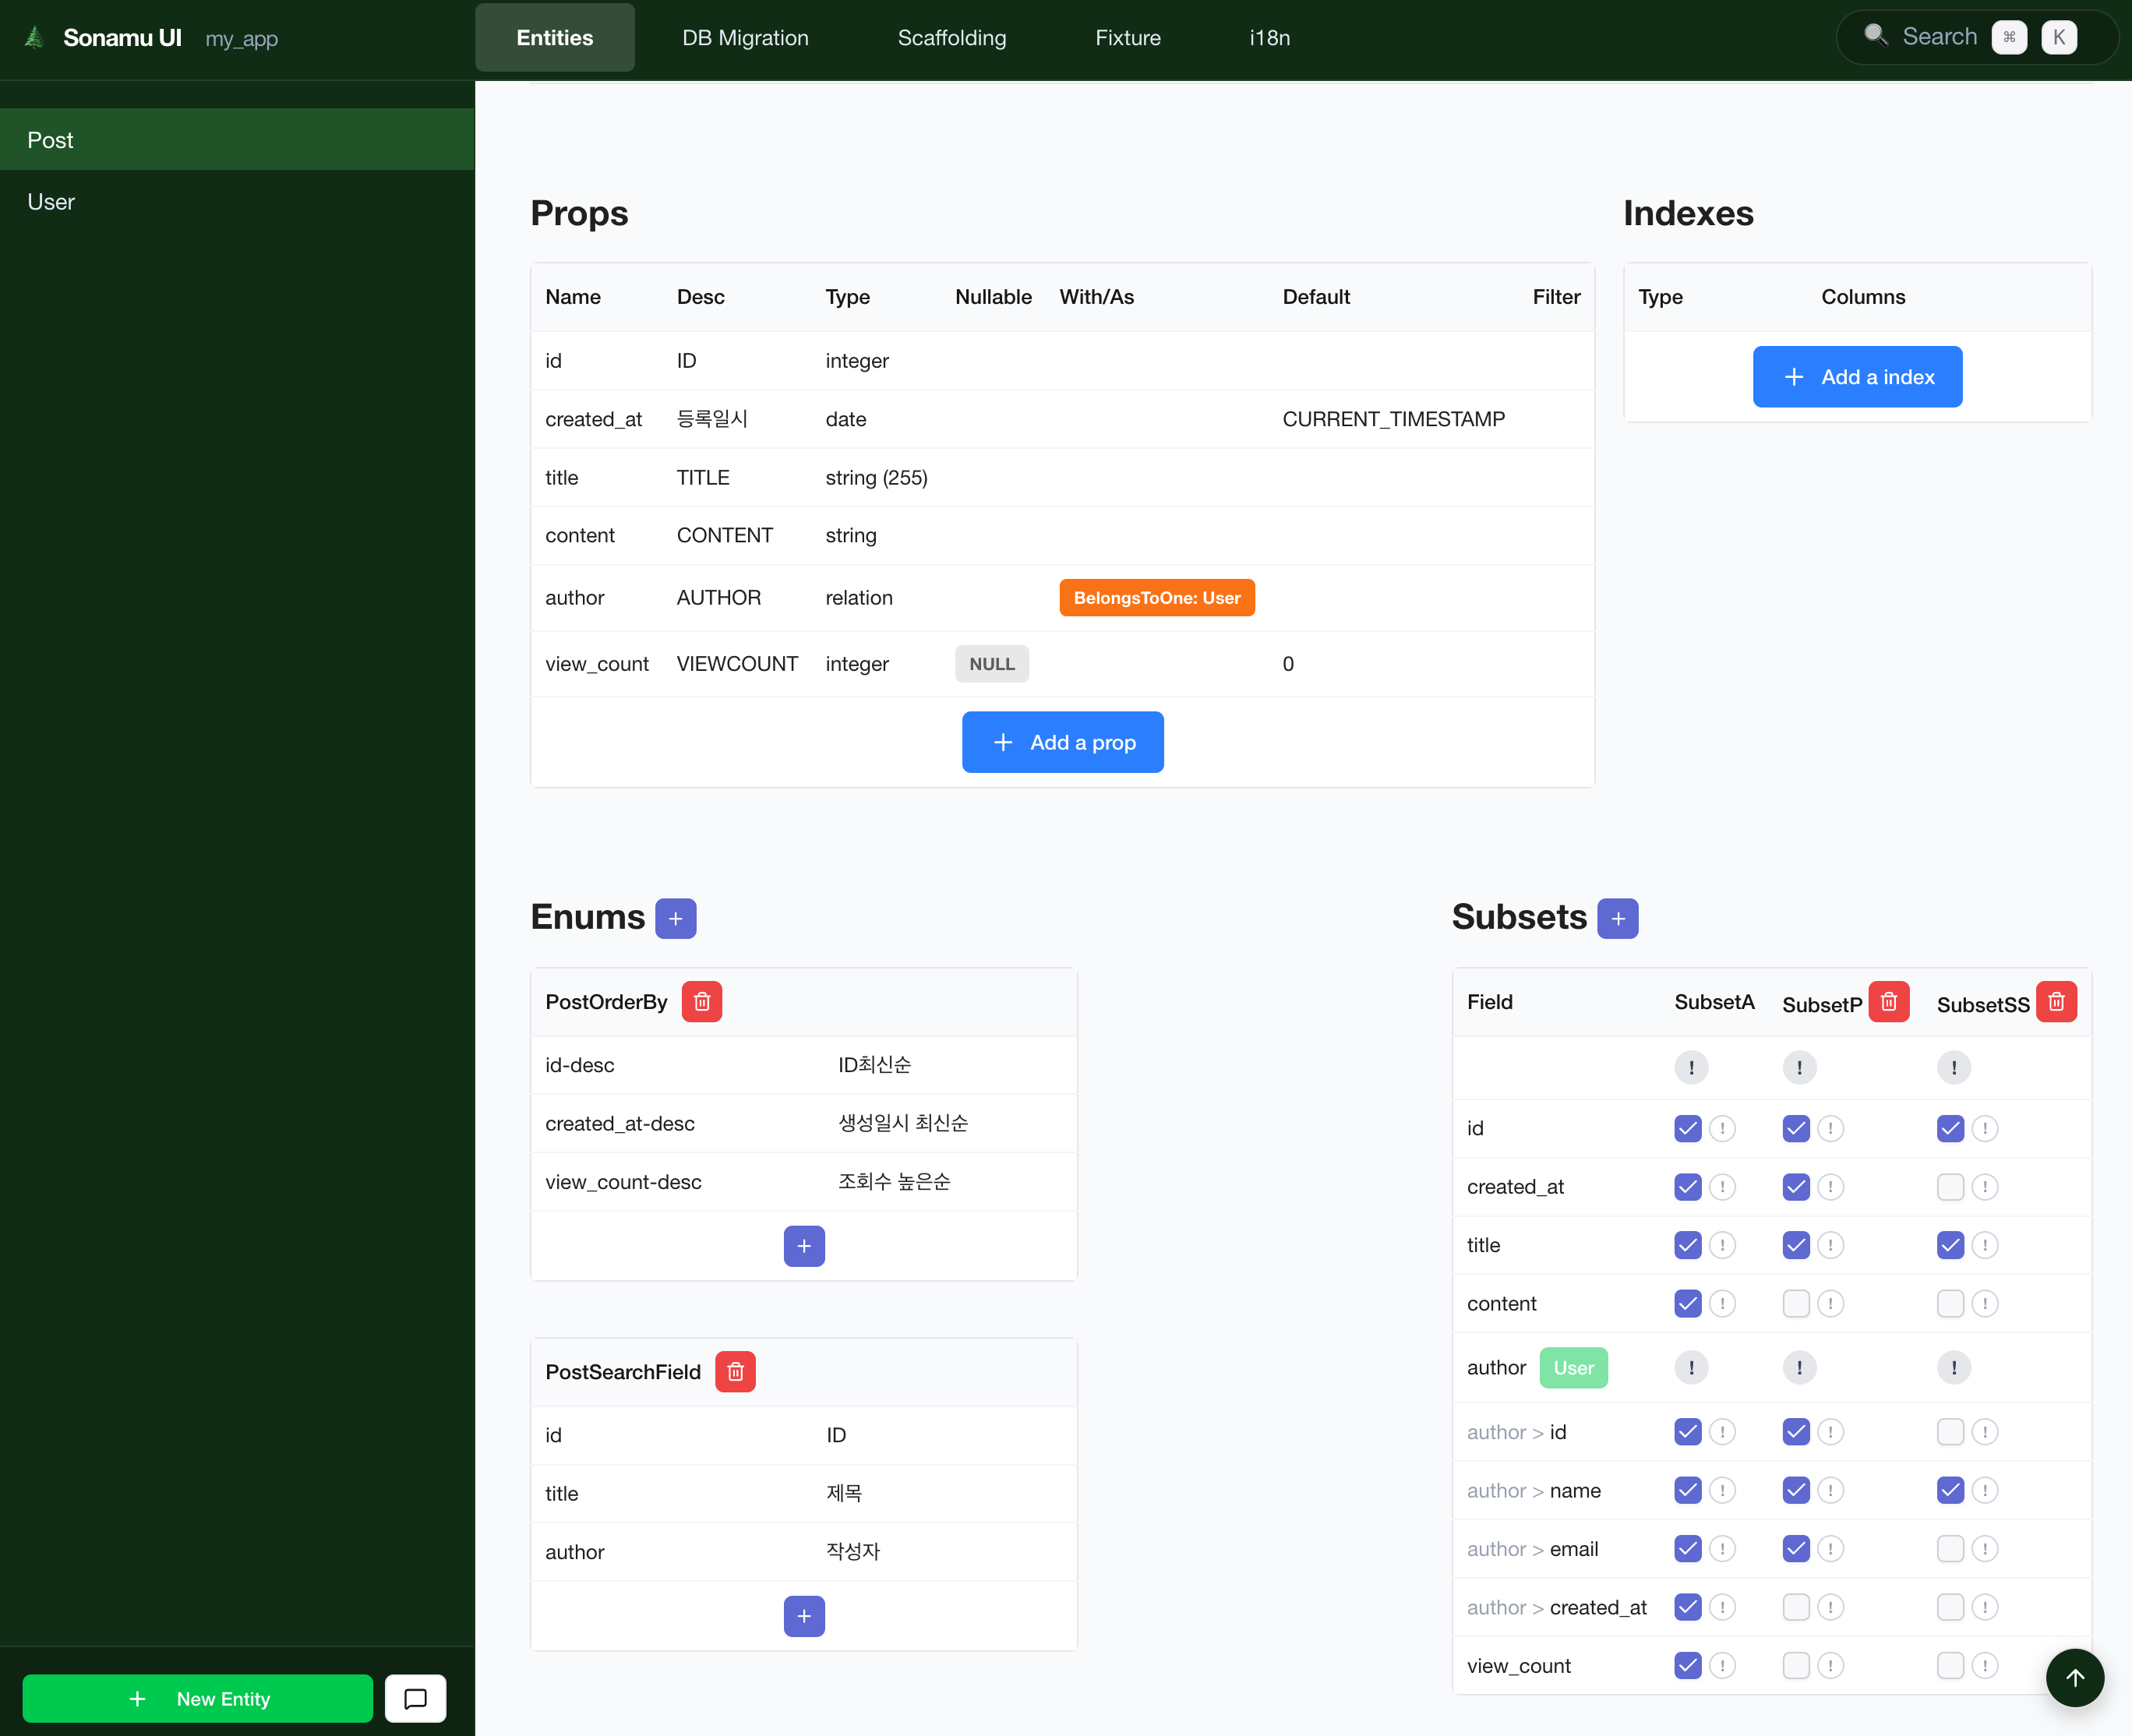
1. Add new entity in **Entity tab**
2. **Define fields** - Set types, constraints, default values
3. **Define Subsets** - Define API response formats
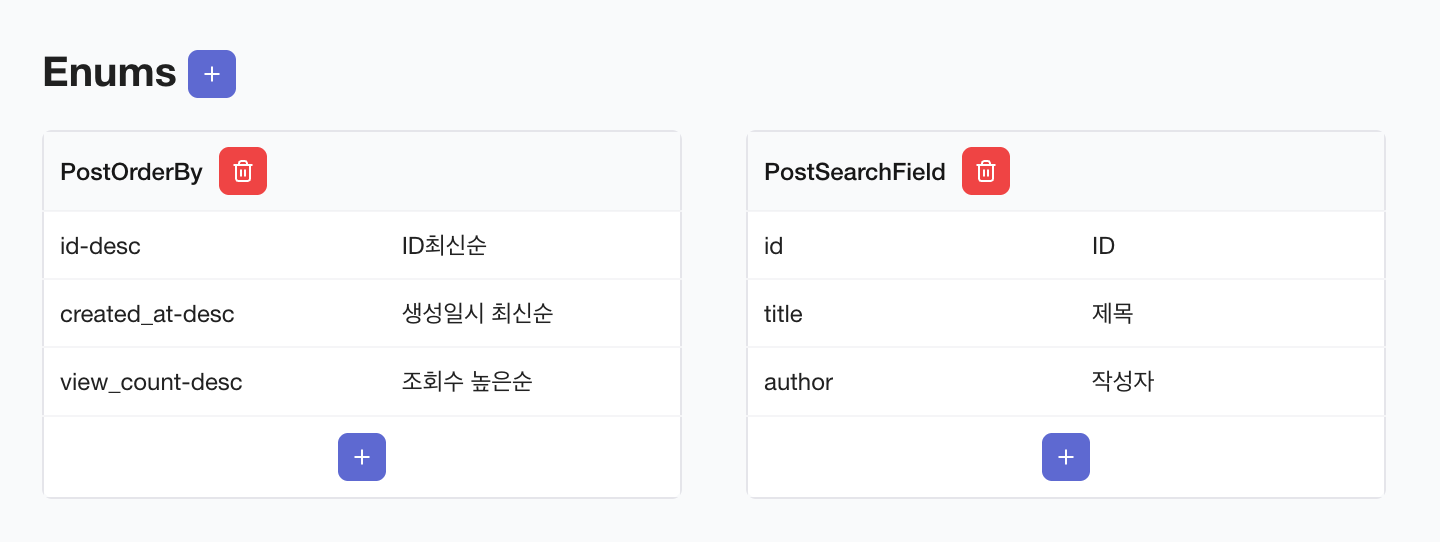
4. **Define Enums** - Define sorting/search options
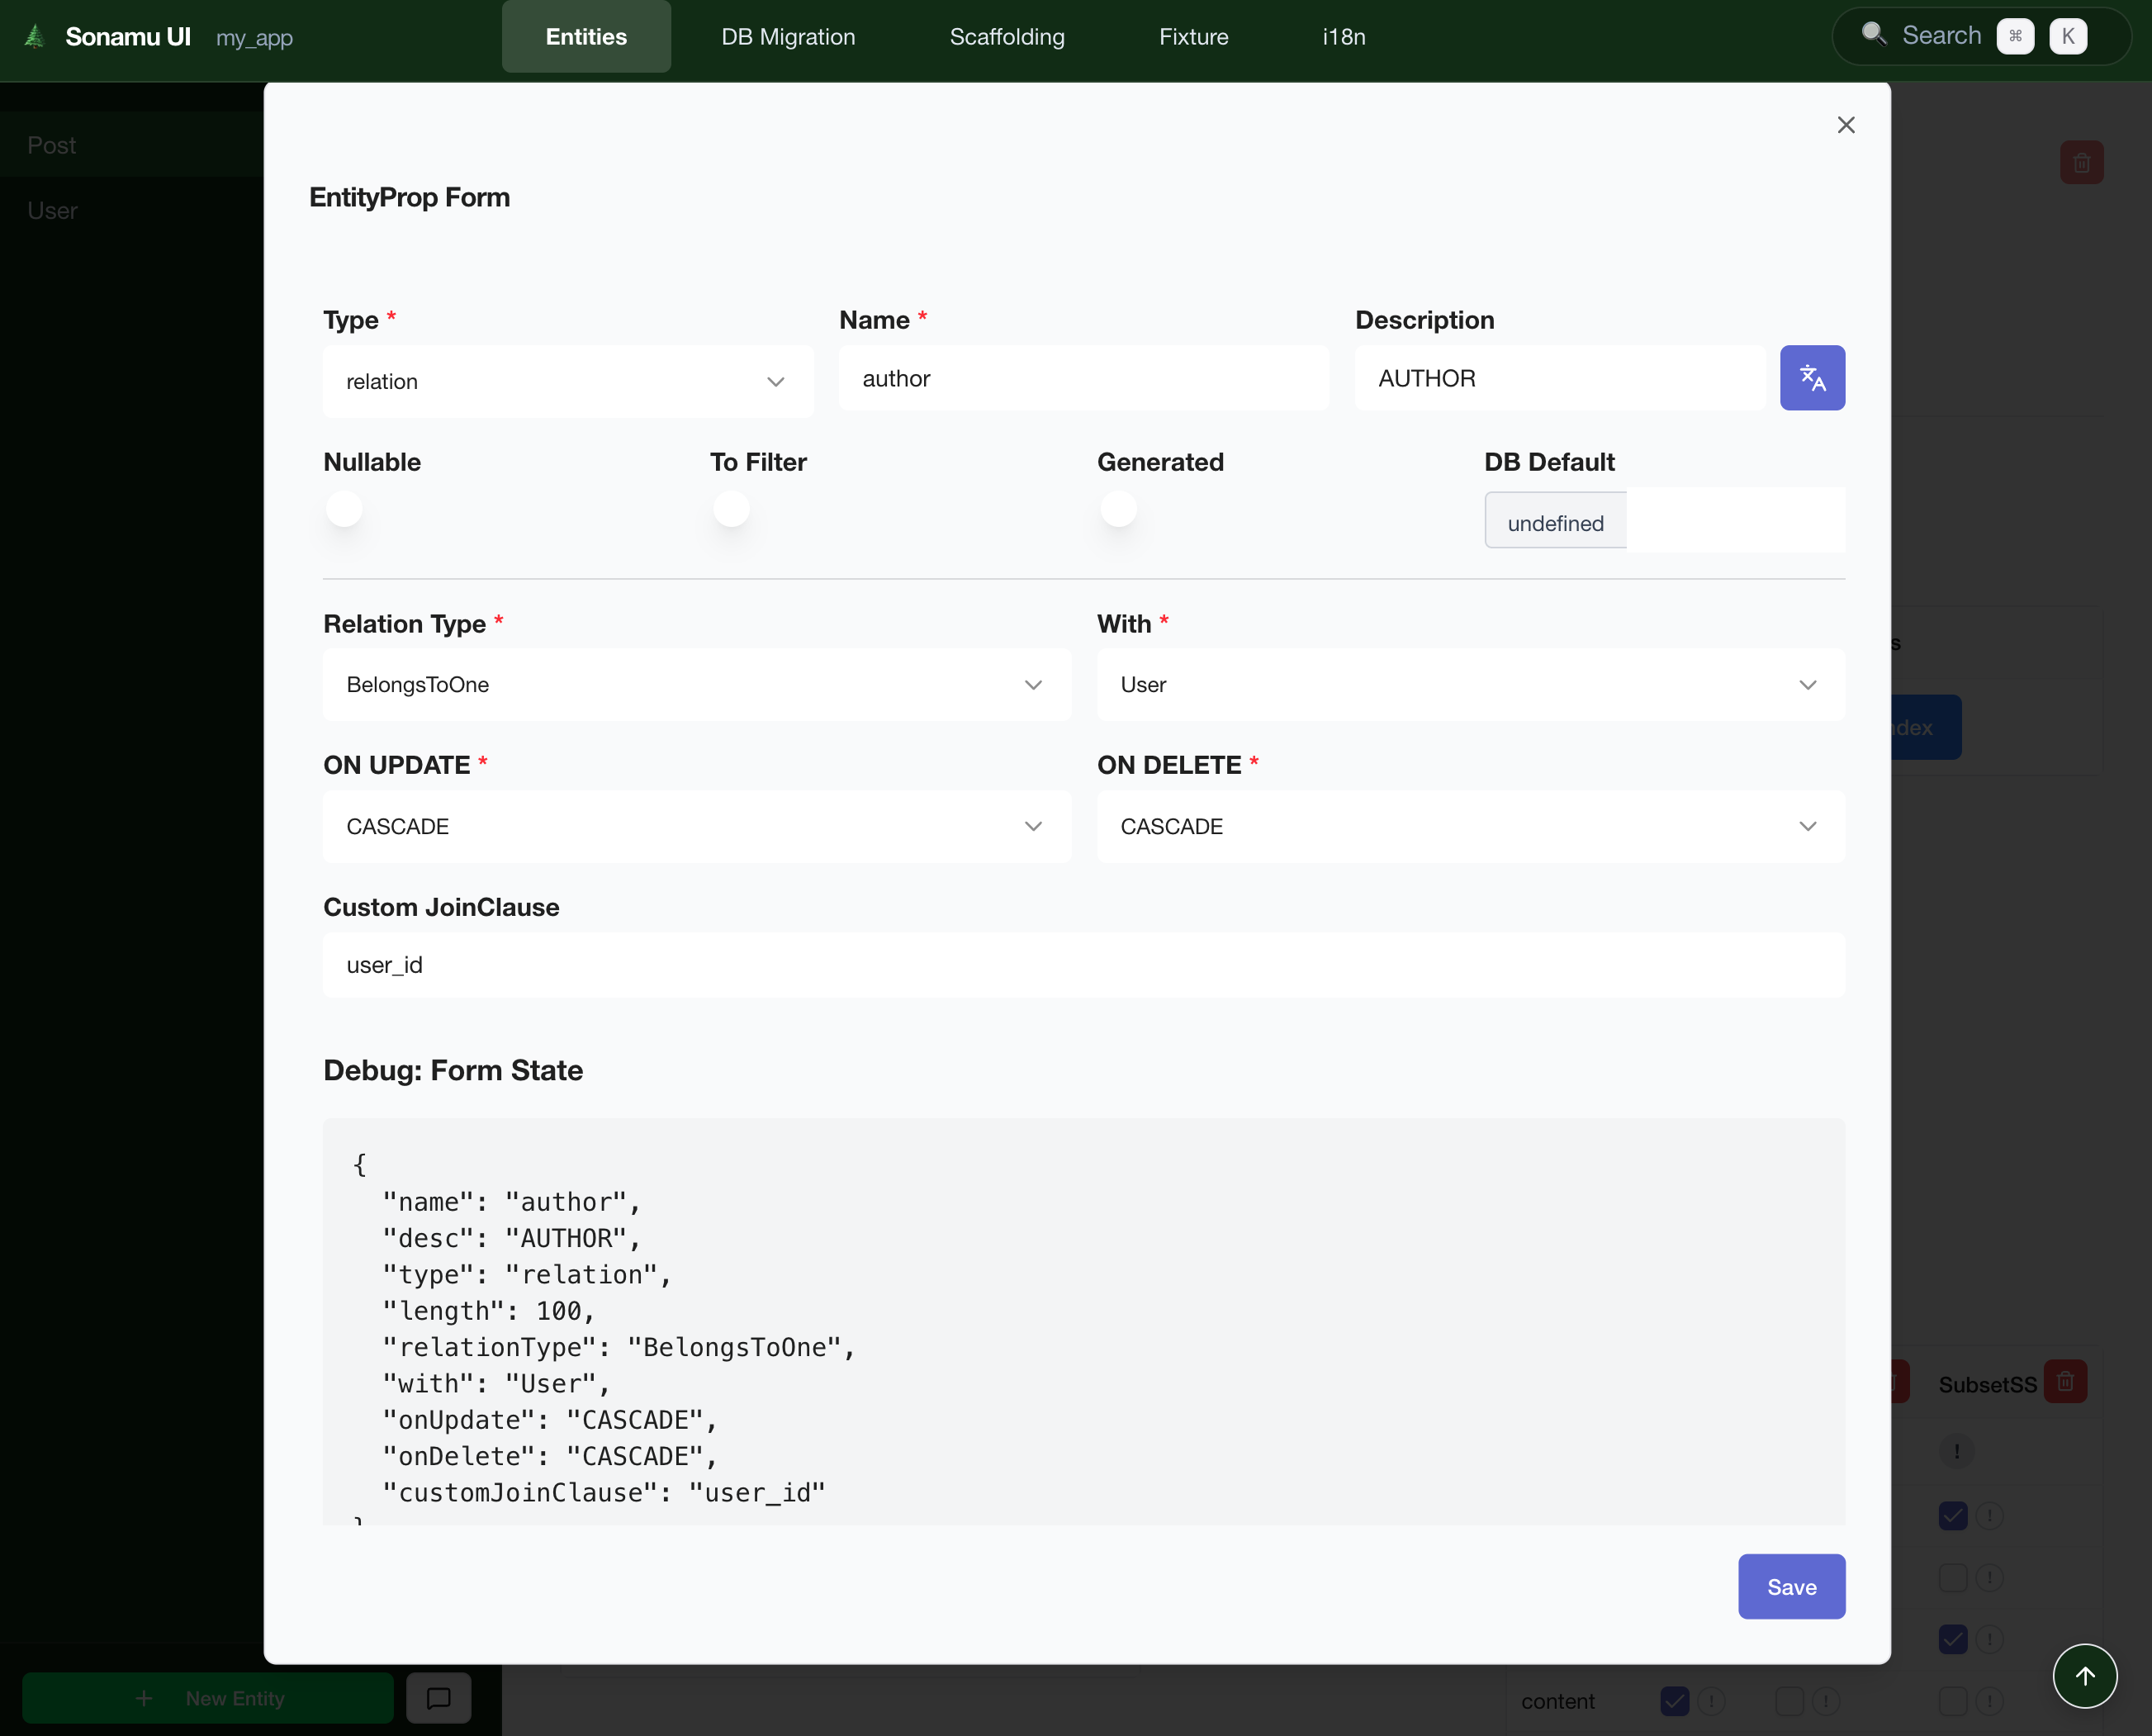
5. **Define Relations** - Set relationships with other entities
When you save an entity, the following files are auto-generated: - `{entity}.entity.json` - Entity
definition - `{entity}.types.ts` - TypeScript types and Zod schemas - `sonamu.generated.ts` - Base
schemas (all entities)
### Create Entity via CLI (Optional)
You can also use the CLI to create an empty entity:
```bash theme={null}
pnpm sonamu stub entity User
```
Then add and edit fields in Sonamu UI.
**Learn More** - [Defining Entities](/en/core-concepts/entity/defining-entities) - Entity
structure and configuration options - [Using Sonamu UI](/en/core-concepts/entity/using-sonamu-ui)
* Managing entities in the UI - [Field Types](/en/core-concepts/entity/field-types) - All
available field types - [Defining Relations](/en/core-concepts/entity/relations) - Setting up
entity relationships - [Defining Enums](/en/core-concepts/entity/enums) - Managing enumeration
types - [Entity Management](/en/tools-and-cli/sonamu-ui/entity-management) - Sonamu UI Entity tab
guide
## Step 2: Migration
Apply the entity definition to the database.
### Migration in Sonamu UI
1. Click **Migration tab**
2. **Generate Migration** - Auto-generate SQL
3. Review generated SQL
4. **Run Migration** - Apply to database
### Migration via CLI (Optional)
```bash theme={null}
# Check migration status
pnpm sonamu migrate status
# Run migration
pnpm sonamu migrate run
```
Migrations may be irreversible operations. Be especially careful in production environments.
**Learn More** - [How Migrations Work](/en/database/migrations/how-migrations-work) -
Understanding the migration system - [Creating
Migrations](/en/database/migrations/creating-migrations) - SQL auto-generation mechanism -
[Running Migrations](/en/database/migrations/running-migrations) - Safe migration execution -
[Migration Tab](/en/tools-and-cli/sonamu-ui/migration-tab) - Managing migrations in Sonamu UI -
[migrate CLI](/en/tools-and-cli/sonamu-cli/migrate) - Controlling migrations via CLI
## Step 3: Scaffolding
After migration, auto-generate Model and test files.
### Scaffolding in Sonamu UI
1. Click **Scaffolding tab**
2. Select entity
3. Select templates to generate:
* **Model** - Business logic and API endpoints
* **Model Test** - Test file
4. **Preview** (optional) - Preview code to be generated
5. **Generate** - Create files
### Scaffolding via CLI (Optional)
```bash theme={null}
# Generate Model file
pnpm sonamu scaffold model User
# Generate test file
pnpm sonamu scaffold model_test User
```
**Generated Files**
* `{entity}.model.ts` - Includes basic CRUD APIs
* `{entity}.model.test.ts` - Test template
Generated files can be modified anytime to add business logic.
**Learn More** - [Scaffolding Tab](/en/tools-and-cli/sonamu-ui/scaffolding-tab) - Generating code
in UI - [scaffold CLI](/en/tools-and-cli/sonamu-cli/scaffold) - File scaffolding via CLI - [Test
Scaffolding](/en/testing/writing-tests/scaffolding-tests) - Auto-generating test files
## Step 4: Business Logic Implementation
Add business logic to the generated Model files.
### Model File Structure
```typescript title="user.model.ts" theme={null}
import { api, BaseModelClass, NotFoundException } from "sonamu";
import type { UserSubsetKey, UserSubsetMapping } from "../sonamu.generated";
import { userLoaderQueries, userSubsetQueries } from "../sonamu.generated.sso";
import type { User, UserListParams, UserSaveParams } from "./user.types";
class UserModelClass extends BaseModelClass<
UserSubsetKey,
UserSubsetMapping,
typeof userSubsetQueries,
typeof userLoaderQueries
> {
constructor() {
super("User", userSubsetQueries, userLoaderQueries);
}
@api({ httpMethod: "GET", clients: ["axios", "tanstack-query"] })
async findById(subset: T, id: number): Promise {
// Basic CRUD logic (generated by scaffolding)
}
// Add custom business logic
@api({ httpMethod: "POST", clients: ["axios"] })
async changePassword(userId: number, newPassword: string): Promise {
// Password change logic
const hashedPassword = await this.hashPassword(newPassword);
await this.getPuri("w").table("users").where("id", userId).update({ password: hashedPassword });
}
private async hashPassword(password: string): Promise {
// Password hashing logic
return password; // In practice, use bcrypt, etc.
}
}
export const UserModel = new UserModelClass();
```
### API Decorator
The `@api` decorator automatically registers methods as REST API endpoints:
```typescript theme={null}
@api({
httpMethod: "GET" | "POST" | "PUT" | "DELETE",
clients: ["axios", "tanstack-query"], // Client types to generate
resourceName?: string, // Resource name (optional)
})
```
**HMR (Hot Module Replacement)**
When you modify Model files, the API server automatically restarts. No manual server restart needed!
**Learn More** - [What is a Model?](/en/core-concepts/model/what-is-model) - Role and structure of
Models - [@api Decorator](/en/core-concepts/model/api-decorator) - Auto-generating API endpoints -
[Writing Business Logic](/en/core-concepts/model/business-logic) - Implementing logic in Models -
[BaseModel Methods](/en/core-concepts/model/basemodel-methods) - Built-in CRUD methods - [Creating
APIs](/en/api-development/creating-apis/api-decorator) - Detailed API development guide - [Puri
Query Builder](/en/database/puri/basic-queries) - Writing type-safe queries -
[Transactions](/en/database/transactions/transactional-decorator) - Safe data handling
## Step 5: Synchronization (Sync)
Synchronize changes with the frontend.
### Auto Sync (HMR)
When running the dev server with `pnpm dev`, file changes are automatically synchronized:
* ✅ Model file change → Service file auto-regenerated
* ✅ Types file change → Auto-copied to Web project
* ✅ Entity definition change → Schema auto-regenerated
### Manual Sync
You can manually sync if needed:
```bash theme={null}
pnpm sync
```
`pnpm sync` performs the following tasks:
1. **Copy sonamu.shared.ts** - Copy common types and utilities to Web
2. **Detect changed files** - Check changed files based on checksums
3. **Type sync** - Copy `*.types.ts`, `*.generated.ts` files to Web
4. **Generate Services** - Generate frontend Services based on Model APIs
5. **Config sync** - Update `.sonamu.env` file
**When Sync Command is Needed**
* When you've modified multiple files with the dev server stopped
* When switching branches in Git
* When you think the sync state is broken
In most cases, HMR handles this automatically, so manual sync is rarely needed.
**Learn More** - [Understanding Syncer](/en/core-concepts/auto-generation/syncer) - Detailed
synchronization mechanism - [What Gets
Generated](/en/core-concepts/auto-generation/what-gets-generated) - Which files are generated -
[How HMR Works](/en/tools-and-cli/hmr/how-hmr-works) - Understanding Hot Module Replacement
## Step 6: Testing
Test the business logic you've written.
### Writing Test Files
Add test cases to the test file generated by scaffolding:
```typescript title="user.model.test.ts" theme={null}
import { beforeAll, describe, expect, test } from "vitest";
import { UserModel } from "./user.model";
describe("UserModel", () => {
beforeAll(async () => {
// Initialize before tests
});
test("findById should return user", async () => {
const user = await UserModel.findById("A", 1);
expect(user).toBeDefined();
expect(user.id).toBe(1);
});
test("changePassword should update password", async () => {
await UserModel.changePassword(1, "newPassword123");
// Verify password change
const user = await UserModel.findById("A", 1);
expect(user.password).not.toBe("oldPassword");
});
});
```
### Running Tests
```bash theme={null}
# Run all tests
pnpm test
# Test specific file
pnpm test user.model.test.ts
# Watch mode
pnpm test --watch
```
Sonamu uses Vitest. For details, see the [Writing Tests](/en/testing/writing-tests/test-structure)
documentation.
**Learn More** - [Writing Tests](/en/testing/writing-tests/test-structure) - Vitest-based test
structure - [Test Scaffolding](/en/testing/writing-tests/scaffolding-tests) - Using test templates
* [Creating Fixtures](/en/testing/fixtures/creating-fixtures) - Managing test data - [What is
Naite?](/en/testing/naite/what-is-naite) - Test logging system
## Step 7: Frontend Integration
Implement UI using the auto-generated Services.
### Generated Service Files
APIs defined in Models are automatically generated as frontend Services:
```typescript title="web/src/services/UserService.ts (auto-generated)" theme={null}
export class UserService {
static async findById(subset: UserSubsetKey, id: number) {
const res = await axios.get(`/api/users/${id}`, {
params: { subset },
});
return res.data;
}
static async changePassword(userId: number, newPassword: string) {
const res = await axios.post("/api/users/changePassword", {
userId,
newPassword,
});
return res.data;
}
}
```
### Using in React Components
```tsx title="web/src/pages/UserProfile.tsx" theme={null}
import { useState, useEffect } from "react";
import { UserService } from "@/services/UserService";
import type { User } from "@/services/user.types";
export function UserProfile({ userId }: { userId: number }) {
const [user, setUser] = useState(null);
const [loading, setLoading] = useState(true);
useEffect(() => {
loadUser();
}, [userId]);
async function loadUser() {
try {
const userData = await UserService.findById("A", userId);
setUser(userData);
} catch (error) {
console.error("Failed to load user:", error);
} finally {
setLoading(false);
}
}
async function handlePasswordChange(newPassword: string) {
await UserService.changePassword(userId, newPassword);
alert("Password changed successfully!");
}
if (loading) return
Loading...
;
if (!user) return
User not found
;
return (
{user.name}
{user.email}
{/* Password change UI */}
);
}
```
**Type Safety**
Services and types are auto-synchronized with the backend, so type mismatch errors can be caught at compile time!
**Learn More** - [How Services
Work](/en/frontend-integration/generated-services/how-services-work) - Auto-generation mechanism -
[Using Services](/en/frontend-integration/generated-services/using-services) - Practical usage
guide - [Shared Types](/en/frontend-integration/type-safety/shared-types) - Backend-frontend type
synchronization
## Complete Workflow Example
Let's look at an example of the complete process of adding a feature.
### Scenario: Adding "Like" Feature
Add `like_count` field to Post entity
```json theme={null}
{
"name": "like_count",
"type": "integer",
"desc": "Like count",
"dbDefault": "0"
}
```
`sql ALTER TABLE posts ADD COLUMN like_count INTEGER DEFAULT 0; `
```typescript theme={null}
@api({ httpMethod: "POST", clients: ["axios"] })
async addLike(postId: number): Promise {
await this.getPuri("w")
.where("id", postId)
.increment("like_count", 1);
return await this.findById("A", postId);
}
```
HMR automatically: - Copies `post.types.ts` → to Web - Adds `addLike` method to `PostService.ts`
```tsx theme={null}
async function handleLike() {
await PostService.addLike(post.id);
// UI update
}
```
```typescript theme={null}
test("addLike should increment like_count", async () => {
const before = await PostModel.findById("A", 1);
await PostModel.addLike(1);
const after = await PostModel.findById("A", 1);
expect(after.like_count).toBe(before.like_count + 1);
});
```
## Development Tips
### 1. Entity First Principle
All development starts with entity definition. Clear data structures lead to clear APIs and UIs.
### 2. Utilize Subsets
Pre-defining various Subsets can optimize API response sizes:
* **A (All)**: All fields (detail page)
* **C (Compact)**: Main fields only (list page)
* **S (Summary)**: Minimal fields (preview)
### 3. Relation Design
Clearly defining relationships between entities auto-generates JOIN queries.
### 4. Test-First Development
For complex business logic, writing tests first enables safer development.
### 5. Utilize HMR
During development, keep `pnpm dev` running and just modify files - they'll sync automatically.
### 6. When Problems Occur
If sync state seems wrong:
1. Restart dev server
2. Run `pnpm sync` manually
3. Delete `sonamu.lock` and restart
## Next Steps
Now that you understand the development workflow, learn the following topics:
Understand Sonamu's overall architecture and how it works.
Learn entity structure and configuration options in detail.
Learn how to write Model files and develop APIs.
Learn how to effectively write tests using Vitest.