> ## Documentation Index
> Fetch the complete documentation index at: https://sonamu.cartanova.ai/llms.txt
> Use this file to discover all available pages before exploring further.
# Quick Start
> Creating your first project - pnpm create sonamu
This guide walks you through the steps to run the development environment after installing a Sonamu project.
## Prerequisites
You must have completed the [Installation](/en/getting-started/installation) guide and have a project created.
## Running the Development Environment
The Sonamu development environment consists of three servers:
* **PostgreSQL** - Database
* **API Server** - Backend REST API (includes Sonamu UI)
* **Web Server** - Frontend application
Navigate to your project's `api` directory and start the PostgreSQL container:
```bash theme={null}
cd myapp/packages/api
pnpm docker:up
```
This command uses Docker Compose to run the PostgreSQL database in the background.
To verify the database is running correctly, you can check the container status with the `docker
ps` command.
 In the same `api` directory, start the development server:
```bash theme={null}
pnpm dev
```
When the server starts successfully, you'll see the following message:
```
🌲 Sonamu v1.x.x
✓ Config loaded (...)
✓ DB
▸ development_master @ localhost:5432/myapp
✓ Sonamu ready (...)
```
This single command runs everything:
* **Web App**: [http://localhost:34900](http://localhost:34900)
* **API Endpoints**: [http://localhost:34900/api](http://localhost:34900/api)
* **Sonamu UI**: [http://localhost:34900/sonamu-ui](http://localhost:34900/sonamu-ui)
The API server supports Hot Module Replacement (HMR), so it automatically restarts when code changes.
In the local development environment, the API server integrates and serves the Web app. It
connects the Web directory's Vite Dev Server as middleware to the API server, allowing everything
to run on a single port.
Keep this terminal window open. It maintains the running API server.
If you want to focus on Web development or utilize Vite's full features, open a **new terminal window** and start the development server separately in the `web` directory:
```bash theme={null}
cd myapp/packages/web
pnpm dev
```
When the Vite development server starts, you'll see the following message:
```
VITE v5.x.x ready in xxx ms
➜ Local: http://localhost:5173/
➜ Network: http://192.168.x.x:5173/
```
If you run the Web server separately, you can access the frontend at [http://localhost:5173](http://localhost:5173). The Web server automatically proxies `/api/*` path requests to the API server (localhost:34900).
**Two Development Modes**
* **Integrated mode** (recommended): Run only API server → Access everything at `localhost:34900`
* **Separated mode**: Run API + Web separately → API at `localhost:34900`, Web at `localhost:5173`
The integrated mode is sufficient for most cases. Use separated mode only when focusing on Web development.
## Verify Access
### Integrated Mode (API server only)
You can access the following URLs in your browser:
| Service | URL | Description |
| ---------- | -------------------------------------------------------------------- | --------------------------- |
| Web App | [http://localhost:34900](http://localhost:34900) | Frontend application |
| API Server | [http://localhost:34900/api](http://localhost:34900/api) | REST API endpoints |
| Sonamu UI | [http://localhost:34900/sonamu-ui](http://localhost:34900/sonamu-ui) | Entity management interface |
### Separated Mode (Both API + Web servers running)
| Service | URL | Description |
| ---------- | -------------------------------------------------------------------- | --------------------------- |
| Web App | [http://localhost:5173](http://localhost:5173) | Frontend application |
| API Server | [http://localhost:34900/api](http://localhost:34900/api) | REST API endpoints |
| Sonamu UI | [http://localhost:34900/sonamu-ui](http://localhost:34900/sonamu-ui) | Entity management interface |
Access the Web app to verify the Sonamu application is running correctly.
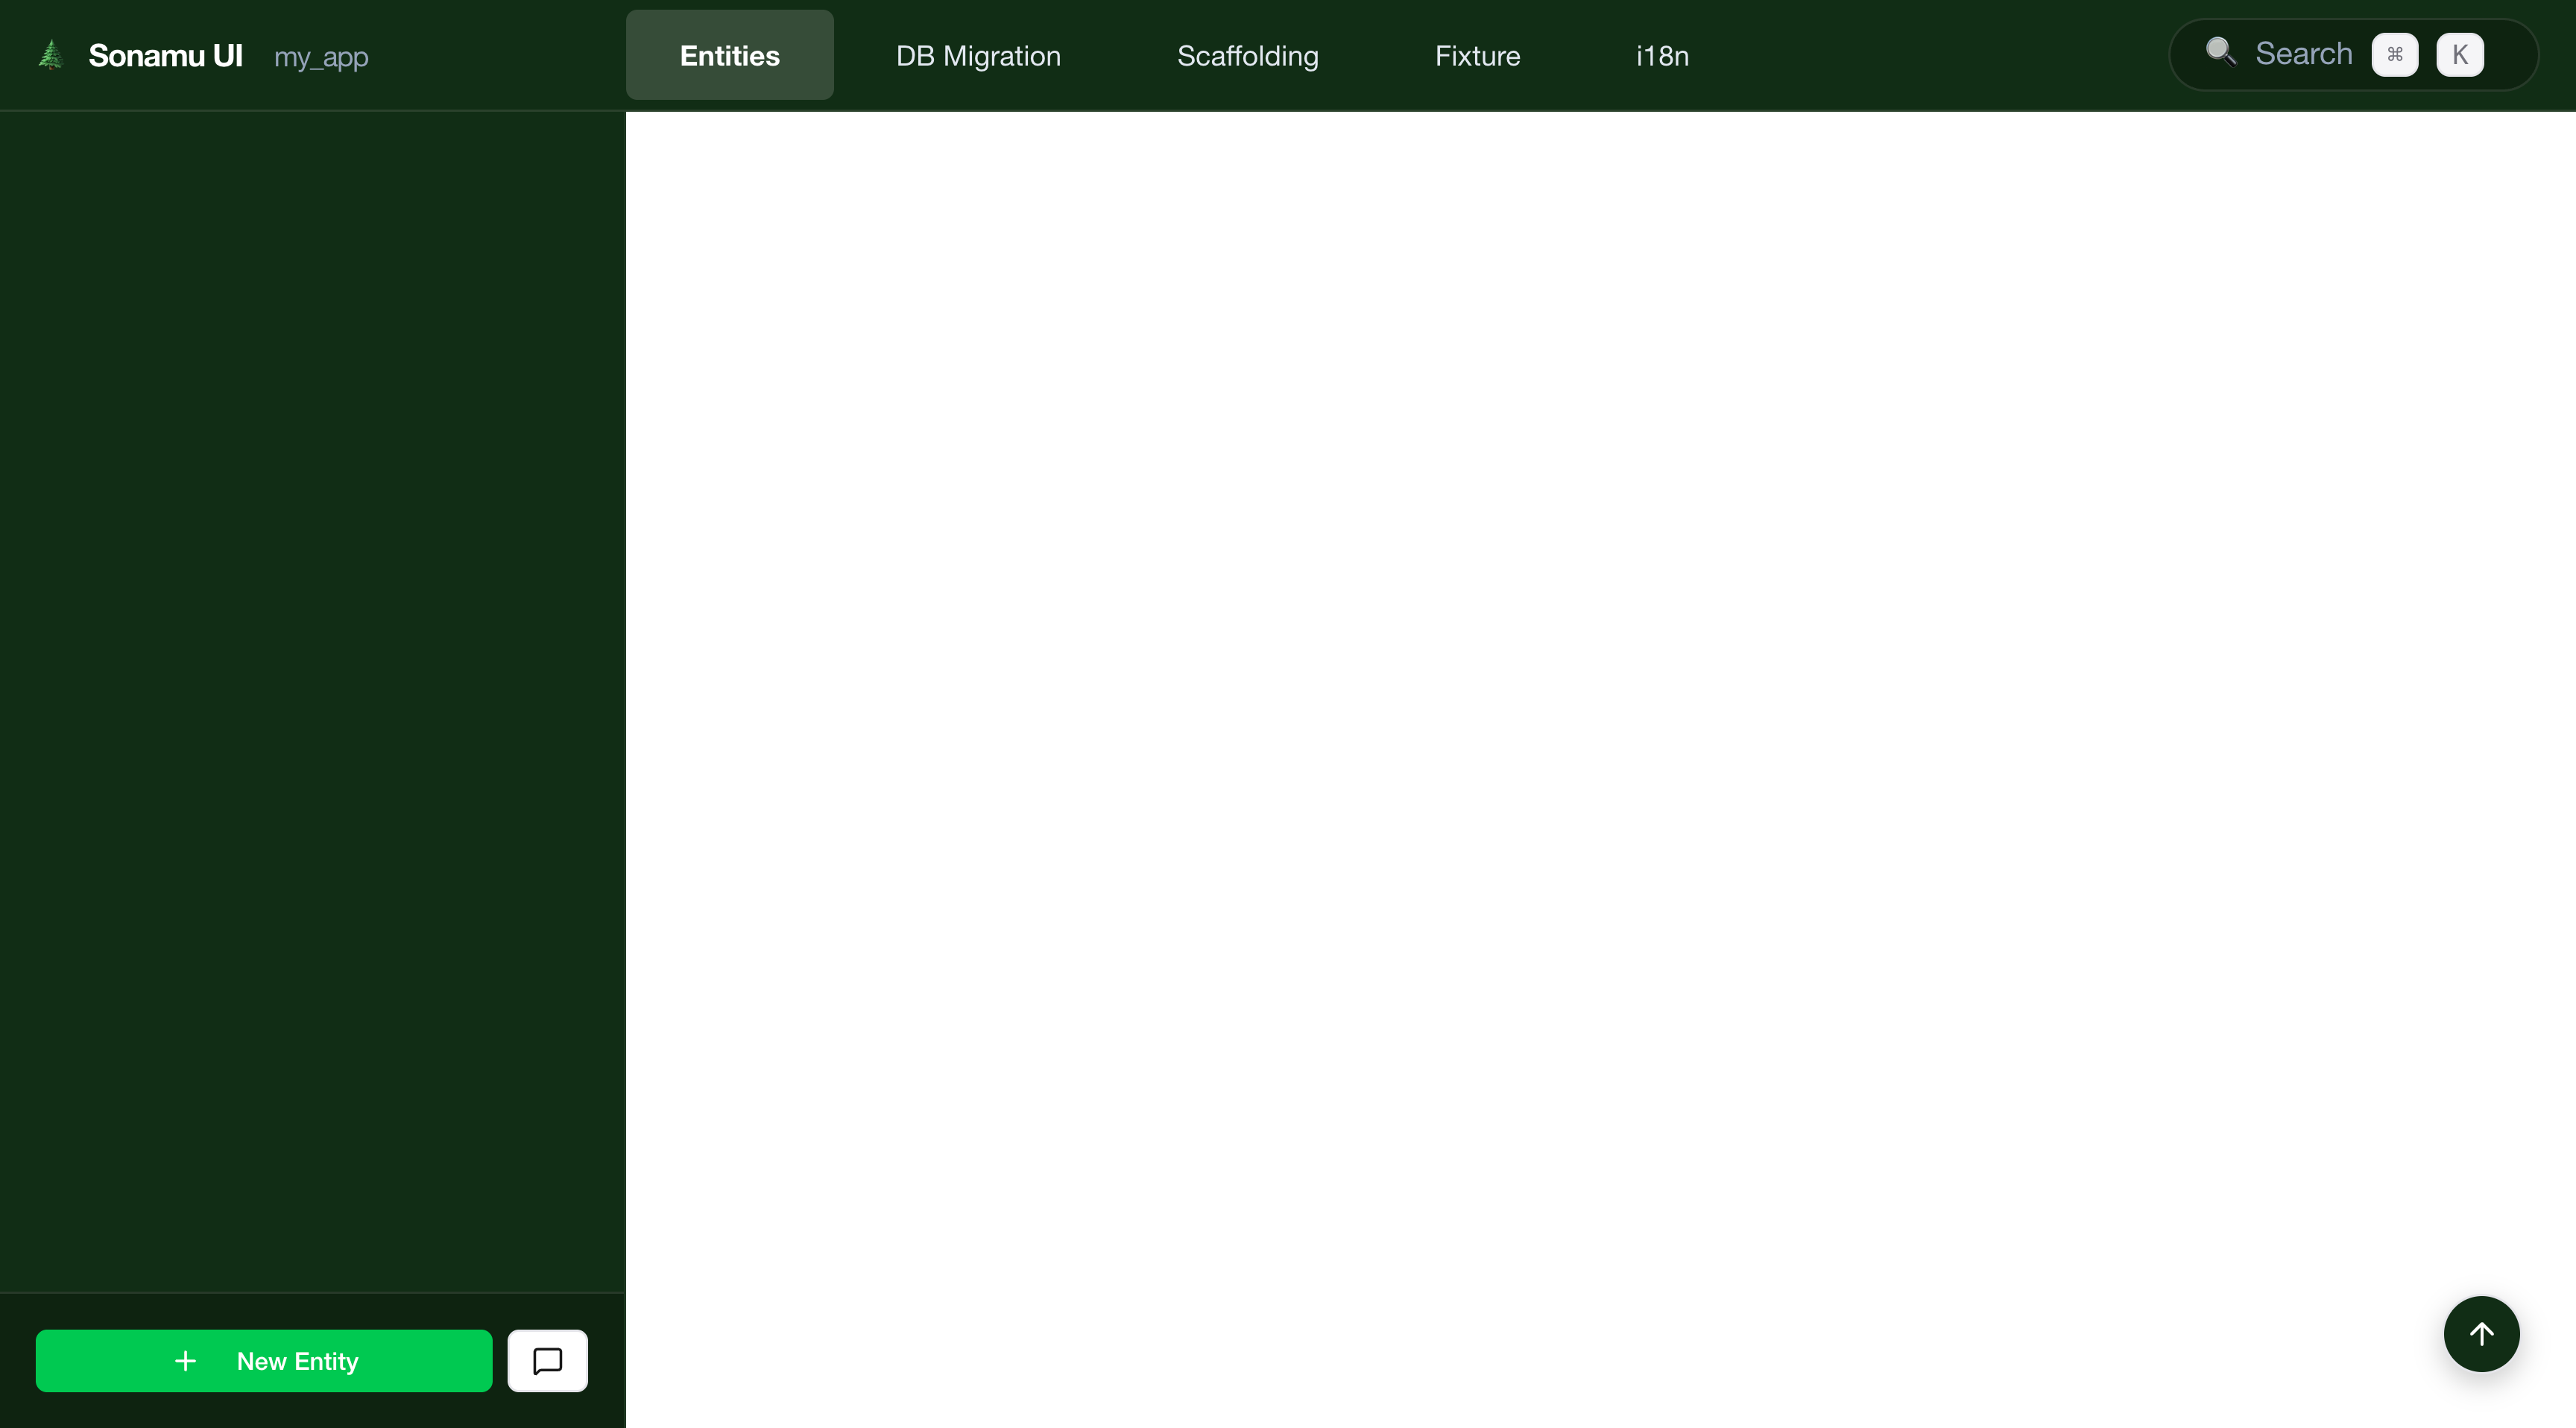
### Sonamu UI Features
When you access [http://localhost:34900/sonamu-ui](http://localhost:34900/sonamu-ui) in your browser, you can perform the following tasks:
* Create and edit entities
* Manage database migrations
* View API endpoints
* Visualize database schema
In the same `api` directory, start the development server:
```bash theme={null}
pnpm dev
```
When the server starts successfully, you'll see the following message:
```
🌲 Sonamu v1.x.x
✓ Config loaded (...)
✓ DB
▸ development_master @ localhost:5432/myapp
✓ Sonamu ready (...)
```
This single command runs everything:
* **Web App**: [http://localhost:34900](http://localhost:34900)
* **API Endpoints**: [http://localhost:34900/api](http://localhost:34900/api)
* **Sonamu UI**: [http://localhost:34900/sonamu-ui](http://localhost:34900/sonamu-ui)
The API server supports Hot Module Replacement (HMR), so it automatically restarts when code changes.
In the local development environment, the API server integrates and serves the Web app. It
connects the Web directory's Vite Dev Server as middleware to the API server, allowing everything
to run on a single port.
Keep this terminal window open. It maintains the running API server.
If you want to focus on Web development or utilize Vite's full features, open a **new terminal window** and start the development server separately in the `web` directory:
```bash theme={null}
cd myapp/packages/web
pnpm dev
```
When the Vite development server starts, you'll see the following message:
```
VITE v5.x.x ready in xxx ms
➜ Local: http://localhost:5173/
➜ Network: http://192.168.x.x:5173/
```
If you run the Web server separately, you can access the frontend at [http://localhost:5173](http://localhost:5173). The Web server automatically proxies `/api/*` path requests to the API server (localhost:34900).
**Two Development Modes**
* **Integrated mode** (recommended): Run only API server → Access everything at `localhost:34900`
* **Separated mode**: Run API + Web separately → API at `localhost:34900`, Web at `localhost:5173`
The integrated mode is sufficient for most cases. Use separated mode only when focusing on Web development.
## Verify Access
### Integrated Mode (API server only)
You can access the following URLs in your browser:
| Service | URL | Description |
| ---------- | -------------------------------------------------------------------- | --------------------------- |
| Web App | [http://localhost:34900](http://localhost:34900) | Frontend application |
| API Server | [http://localhost:34900/api](http://localhost:34900/api) | REST API endpoints |
| Sonamu UI | [http://localhost:34900/sonamu-ui](http://localhost:34900/sonamu-ui) | Entity management interface |
### Separated Mode (Both API + Web servers running)
| Service | URL | Description |
| ---------- | -------------------------------------------------------------------- | --------------------------- |
| Web App | [http://localhost:5173](http://localhost:5173) | Frontend application |
| API Server | [http://localhost:34900/api](http://localhost:34900/api) | REST API endpoints |
| Sonamu UI | [http://localhost:34900/sonamu-ui](http://localhost:34900/sonamu-ui) | Entity management interface |
Access the Web app to verify the Sonamu application is running correctly.
### Sonamu UI Features
When you access [http://localhost:34900/sonamu-ui](http://localhost:34900/sonamu-ui) in your browser, you can perform the following tasks:
* Create and edit entities
* Manage database migrations
* View API endpoints
* Visualize database schema
 ## Stopping Servers
To stop the servers when you're done developing:
1. **API Server** (and Web server if running): Press `Ctrl + C` in each terminal to stop.
2. **Database**: Run the following command in the `api` directory:
```bash theme={null}
pnpm docker:down
```
The `docker:down` command only stops the container; data is preserved. To completely reset the
database, refer to the [Database Management](/en/database/management) documentation.
## Next Steps
Your development environment is ready! Now learn Sonamu's core features through the following guides:
Use Sonamu UI to create your first entity and define the database schema.
Create REST APIs based on entities and implement business logic.
Use the auto-generated service layer to call APIs from the frontend.
Understand the directory structure and key files of a Sonamu project.
## Stopping Servers
To stop the servers when you're done developing:
1. **API Server** (and Web server if running): Press `Ctrl + C` in each terminal to stop.
2. **Database**: Run the following command in the `api` directory:
```bash theme={null}
pnpm docker:down
```
The `docker:down` command only stops the container; data is preserved. To completely reset the
database, refer to the [Database Management](/en/database/management) documentation.
## Next Steps
Your development environment is ready! Now learn Sonamu's core features through the following guides:
Use Sonamu UI to create your first entity and define the database schema.
Create REST APIs based on entities and implement business logic.
Use the auto-generated service layer to call APIs from the frontend.
Understand the directory structure and key files of a Sonamu project.