> ## Documentation Index
> Fetch the complete documentation index at: https://sonamu.cartanova.ai/llms.txt
> Use this file to discover all available pages before exploring further.
# 빠른 시작
> 첫 프로젝트 만들기 - pnpm create sonamu
이 가이드는 Sonamu 프로젝트를 설치한 후 개발 환경을 실행하는 방법을 단계별로 안내합니다.
## 전제 조건
[설치하기](/ko/getting-started/installation) 가이드를 완료하고 프로젝트가 생성되어 있어야 합니다.
## 개발 환경 실행
Sonamu 개발 환경은 다음 세 가지 서버로 구성됩니다:
* **PostgreSQL** - 데이터베이스
* **API 서버** - 백엔드 REST API (Sonamu UI 포함)
* **Web 서버** - 프론트엔드 애플리케이션
프로젝트의 `api` 디렉토리로 이동하여 PostgreSQL 컨테이너를 시작합니다:
```bash theme={null}
cd myapp/packages/api
pnpm docker:up
```
이 명령어는 Docker Compose를 사용하여 PostgreSQL 데이터베이스를 백그라운드에서 실행합니다.
데이터베이스가 정상적으로 실행되었는지 확인하려면 `docker ps` 명령어로 컨테이너 상태를 확인할 수
있습니다.
 같은 `api` 디렉토리에서 개발 서버를 시작합니다:
```bash theme={null}
pnpm dev
```
서버가 성공적으로 시작되면 다음과 같은 메시지가 표시됩니다:
```
🌲 Sonamu v1.x.x
✓ Config loaded (...)
✓ DB
▸ development_master @ localhost:5432/myapp
✓ Sonamu ready (...)
```
이 명령어 하나로 다음이 모두 실행됩니다:
* **Web 앱**: [http://localhost:34900](http://localhost:34900)
* **API 엔드포인트**: [http://localhost:34900/api](http://localhost:34900/api)
* **Sonamu UI**: [http://localhost:34900/sonamu-ui](http://localhost:34900/sonamu-ui)
API 서버는 Hot Module Replacement(HMR)을 지원하므로 코드 변경 시 자동으로 재시작됩니다.
로컬 개발 환경에서는 API 서버가 Web 앱까지 통합하여 제공합니다. Web 디렉토리의 Vite Dev Server를
API 서버에 middleware로 연결하여 하나의 포트로 모든 것을 실행할 수 있습니다.
이 터미널 창은 계속 열어두어야 합니다. API 서버가 실행 중인 상태를 유지합니다.
Web 개발에 집중하거나 Vite의 전체 기능을 활용하고 싶다면, **새 터미널 창**을 열고 `web` 디렉토리에서 별도로 개발 서버를 시작할 수 있습니다:
```bash theme={null}
cd myapp/packages/web
pnpm dev
```
Vite 개발 서버가 시작되면 다음과 같은 메시지가 표시됩니다:
```
VITE v5.x.x ready in xxx ms
➜ Local: http://localhost:5173/
➜ Network: http://192.168.x.x:5173/
```
Web 서버를 별도로 실행하면 [http://localhost:5173](http://localhost:5173) 로 접속하여 프론트엔드를 확인할 수 있습니다. Web 서버는 `/api/*` 경로 요청을 자동으로 API 서버(localhost:34900)로 프록시합니다.
**두 가지 개발 방식**
* **통합 모드** (권장): API 서버만 실행 → `localhost:34900`로 모든 것에 접근
* **분리 모드**: API + Web 별도 실행 → API는 `localhost:34900`, Web은 `localhost:5173`
대부분의 경우 통합 모드로 충분하며, Web 개발에 집중할 때만 분리 모드를 사용하세요.
## 접속 확인
### 통합 모드 (API 서버만 실행한 경우)
브라우저에서 다음 URL로 접속할 수 있습니다:
| 서비스 | URL | 설명 |
| --------- | -------------------------------------------------------------------- | -------------- |
| Web 앱 | [http://localhost:34900](http://localhost:34900) | 프론트엔드 애플리케이션 |
| API 서버 | [http://localhost:34900/api](http://localhost:34900/api) | REST API 엔드포인트 |
| Sonamu UI | [http://localhost:34900/sonamu-ui](http://localhost:34900/sonamu-ui) | 엔티티 관리 인터페이스 |
### 분리 모드 (API + Web 서버 모두 실행한 경우)
| 서비스 | URL | 설명 |
| --------- | -------------------------------------------------------------------- | -------------- |
| Web 앱 | [http://localhost:5173](http://localhost:5173) | 프론트엔드 애플리케이션 |
| API 서버 | [http://localhost:34900/api](http://localhost:34900/api) | REST API 엔드포인트 |
| Sonamu UI | [http://localhost:34900/sonamu-ui](http://localhost:34900/sonamu-ui) | 엔티티 관리 인터페이스 |
Web 앱에 접속하여 Sonamu 애플리케이션이 정상적으로 실행되는지 확인하세요.
### Sonamu UI 기능
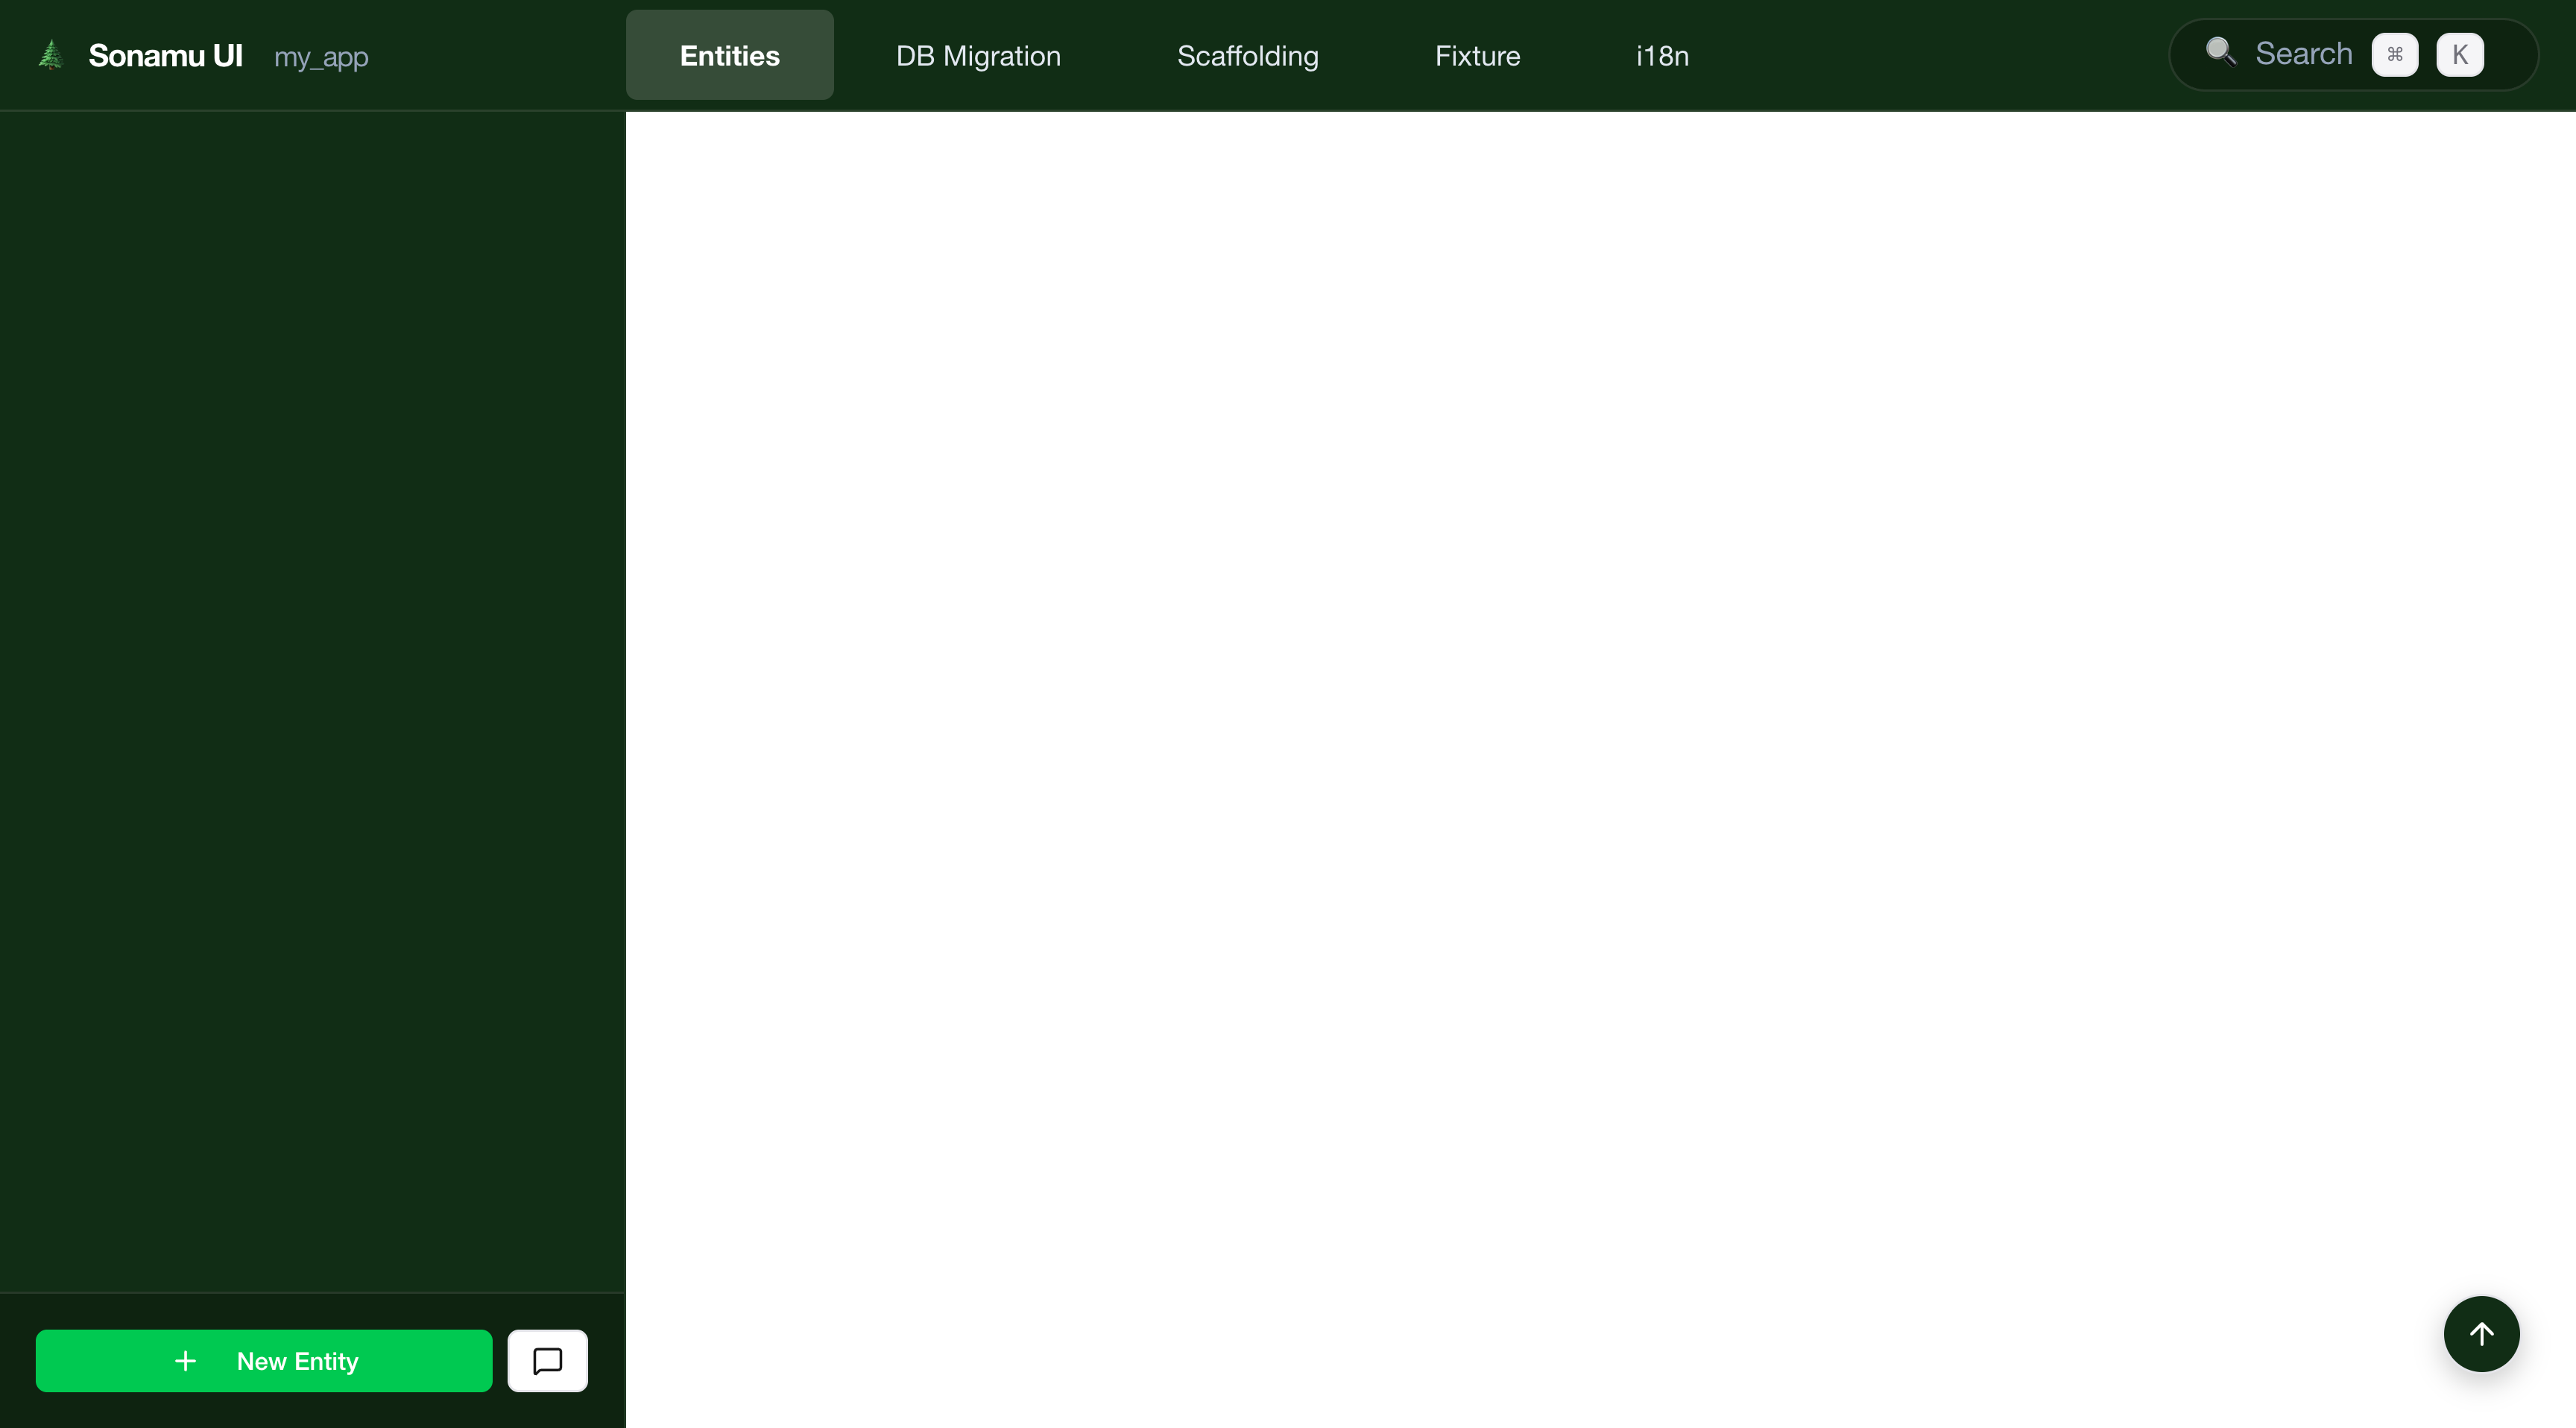
브라우저에서 [http://localhost:34900/sonamu-ui](http://localhost:34900/sonamu-ui) 로 접속하면 다음 작업을 수행할 수 있습니다:
* 엔티티 생성 및 편집
* 데이터베이스 마이그레이션 관리
* API 엔드포인트 확인
* 데이터베이스 스키마 시각화
같은 `api` 디렉토리에서 개발 서버를 시작합니다:
```bash theme={null}
pnpm dev
```
서버가 성공적으로 시작되면 다음과 같은 메시지가 표시됩니다:
```
🌲 Sonamu v1.x.x
✓ Config loaded (...)
✓ DB
▸ development_master @ localhost:5432/myapp
✓ Sonamu ready (...)
```
이 명령어 하나로 다음이 모두 실행됩니다:
* **Web 앱**: [http://localhost:34900](http://localhost:34900)
* **API 엔드포인트**: [http://localhost:34900/api](http://localhost:34900/api)
* **Sonamu UI**: [http://localhost:34900/sonamu-ui](http://localhost:34900/sonamu-ui)
API 서버는 Hot Module Replacement(HMR)을 지원하므로 코드 변경 시 자동으로 재시작됩니다.
로컬 개발 환경에서는 API 서버가 Web 앱까지 통합하여 제공합니다. Web 디렉토리의 Vite Dev Server를
API 서버에 middleware로 연결하여 하나의 포트로 모든 것을 실행할 수 있습니다.
이 터미널 창은 계속 열어두어야 합니다. API 서버가 실행 중인 상태를 유지합니다.
Web 개발에 집중하거나 Vite의 전체 기능을 활용하고 싶다면, **새 터미널 창**을 열고 `web` 디렉토리에서 별도로 개발 서버를 시작할 수 있습니다:
```bash theme={null}
cd myapp/packages/web
pnpm dev
```
Vite 개발 서버가 시작되면 다음과 같은 메시지가 표시됩니다:
```
VITE v5.x.x ready in xxx ms
➜ Local: http://localhost:5173/
➜ Network: http://192.168.x.x:5173/
```
Web 서버를 별도로 실행하면 [http://localhost:5173](http://localhost:5173) 로 접속하여 프론트엔드를 확인할 수 있습니다. Web 서버는 `/api/*` 경로 요청을 자동으로 API 서버(localhost:34900)로 프록시합니다.
**두 가지 개발 방식**
* **통합 모드** (권장): API 서버만 실행 → `localhost:34900`로 모든 것에 접근
* **분리 모드**: API + Web 별도 실행 → API는 `localhost:34900`, Web은 `localhost:5173`
대부분의 경우 통합 모드로 충분하며, Web 개발에 집중할 때만 분리 모드를 사용하세요.
## 접속 확인
### 통합 모드 (API 서버만 실행한 경우)
브라우저에서 다음 URL로 접속할 수 있습니다:
| 서비스 | URL | 설명 |
| --------- | -------------------------------------------------------------------- | -------------- |
| Web 앱 | [http://localhost:34900](http://localhost:34900) | 프론트엔드 애플리케이션 |
| API 서버 | [http://localhost:34900/api](http://localhost:34900/api) | REST API 엔드포인트 |
| Sonamu UI | [http://localhost:34900/sonamu-ui](http://localhost:34900/sonamu-ui) | 엔티티 관리 인터페이스 |
### 분리 모드 (API + Web 서버 모두 실행한 경우)
| 서비스 | URL | 설명 |
| --------- | -------------------------------------------------------------------- | -------------- |
| Web 앱 | [http://localhost:5173](http://localhost:5173) | 프론트엔드 애플리케이션 |
| API 서버 | [http://localhost:34900/api](http://localhost:34900/api) | REST API 엔드포인트 |
| Sonamu UI | [http://localhost:34900/sonamu-ui](http://localhost:34900/sonamu-ui) | 엔티티 관리 인터페이스 |
Web 앱에 접속하여 Sonamu 애플리케이션이 정상적으로 실행되는지 확인하세요.
### Sonamu UI 기능
브라우저에서 [http://localhost:34900/sonamu-ui](http://localhost:34900/sonamu-ui) 로 접속하면 다음 작업을 수행할 수 있습니다:
* 엔티티 생성 및 편집
* 데이터베이스 마이그레이션 관리
* API 엔드포인트 확인
* 데이터베이스 스키마 시각화
 ## 서버 중지
개발을 마치고 서버를 중지하려면:
1. **API 서버** (그리고 Web 서버가 실행 중이라면): 각 터미널에서 `Ctrl + C` 키를 눌러 중지합니다.
2. **데이터베이스**: `api` 디렉토리에서 다음 명령어를 실행합니다:
```bash theme={null}
pnpm docker:down
```
`docker:down` 명령어는 컨테이너를 중지만 하며, 데이터는 보존됩니다. 데이터베이스를 완전히
초기화하려면 [데이터베이스 관리](/ko/database/management) 문서를 참고하세요.
## 다음 단계
개발 환경이 준비되었습니다! 이제 다음 가이드를 통해 Sonamu의 핵심 기능을 배워보세요:
Sonamu UI를 사용하여 첫 번째 엔티티를 생성하고 데이터베이스 스키마를 정의하세요.
엔티티 기반으로 REST API를 생성하고 비즈니스 로직을 구현하세요.
자동 생성된 서비스 레이어를 사용하여 프론트엔드에서 API를 호출하세요.
Sonamu 프로젝트의 디렉토리 구조와 주요 파일들을 이해하세요.
## 서버 중지
개발을 마치고 서버를 중지하려면:
1. **API 서버** (그리고 Web 서버가 실행 중이라면): 각 터미널에서 `Ctrl + C` 키를 눌러 중지합니다.
2. **데이터베이스**: `api` 디렉토리에서 다음 명령어를 실행합니다:
```bash theme={null}
pnpm docker:down
```
`docker:down` 명령어는 컨테이너를 중지만 하며, 데이터는 보존됩니다. 데이터베이스를 완전히
초기화하려면 [데이터베이스 관리](/ko/database/management) 문서를 참고하세요.
## 다음 단계
개발 환경이 준비되었습니다! 이제 다음 가이드를 통해 Sonamu의 핵심 기능을 배워보세요:
Sonamu UI를 사용하여 첫 번째 엔티티를 생성하고 데이터베이스 스키마를 정의하세요.
엔티티 기반으로 REST API를 생성하고 비즈니스 로직을 구현하세요.
자동 생성된 서비스 레이어를 사용하여 프론트엔드에서 API를 호출하세요.
Sonamu 프로젝트의 디렉토리 구조와 주요 파일들을 이해하세요.