;
};
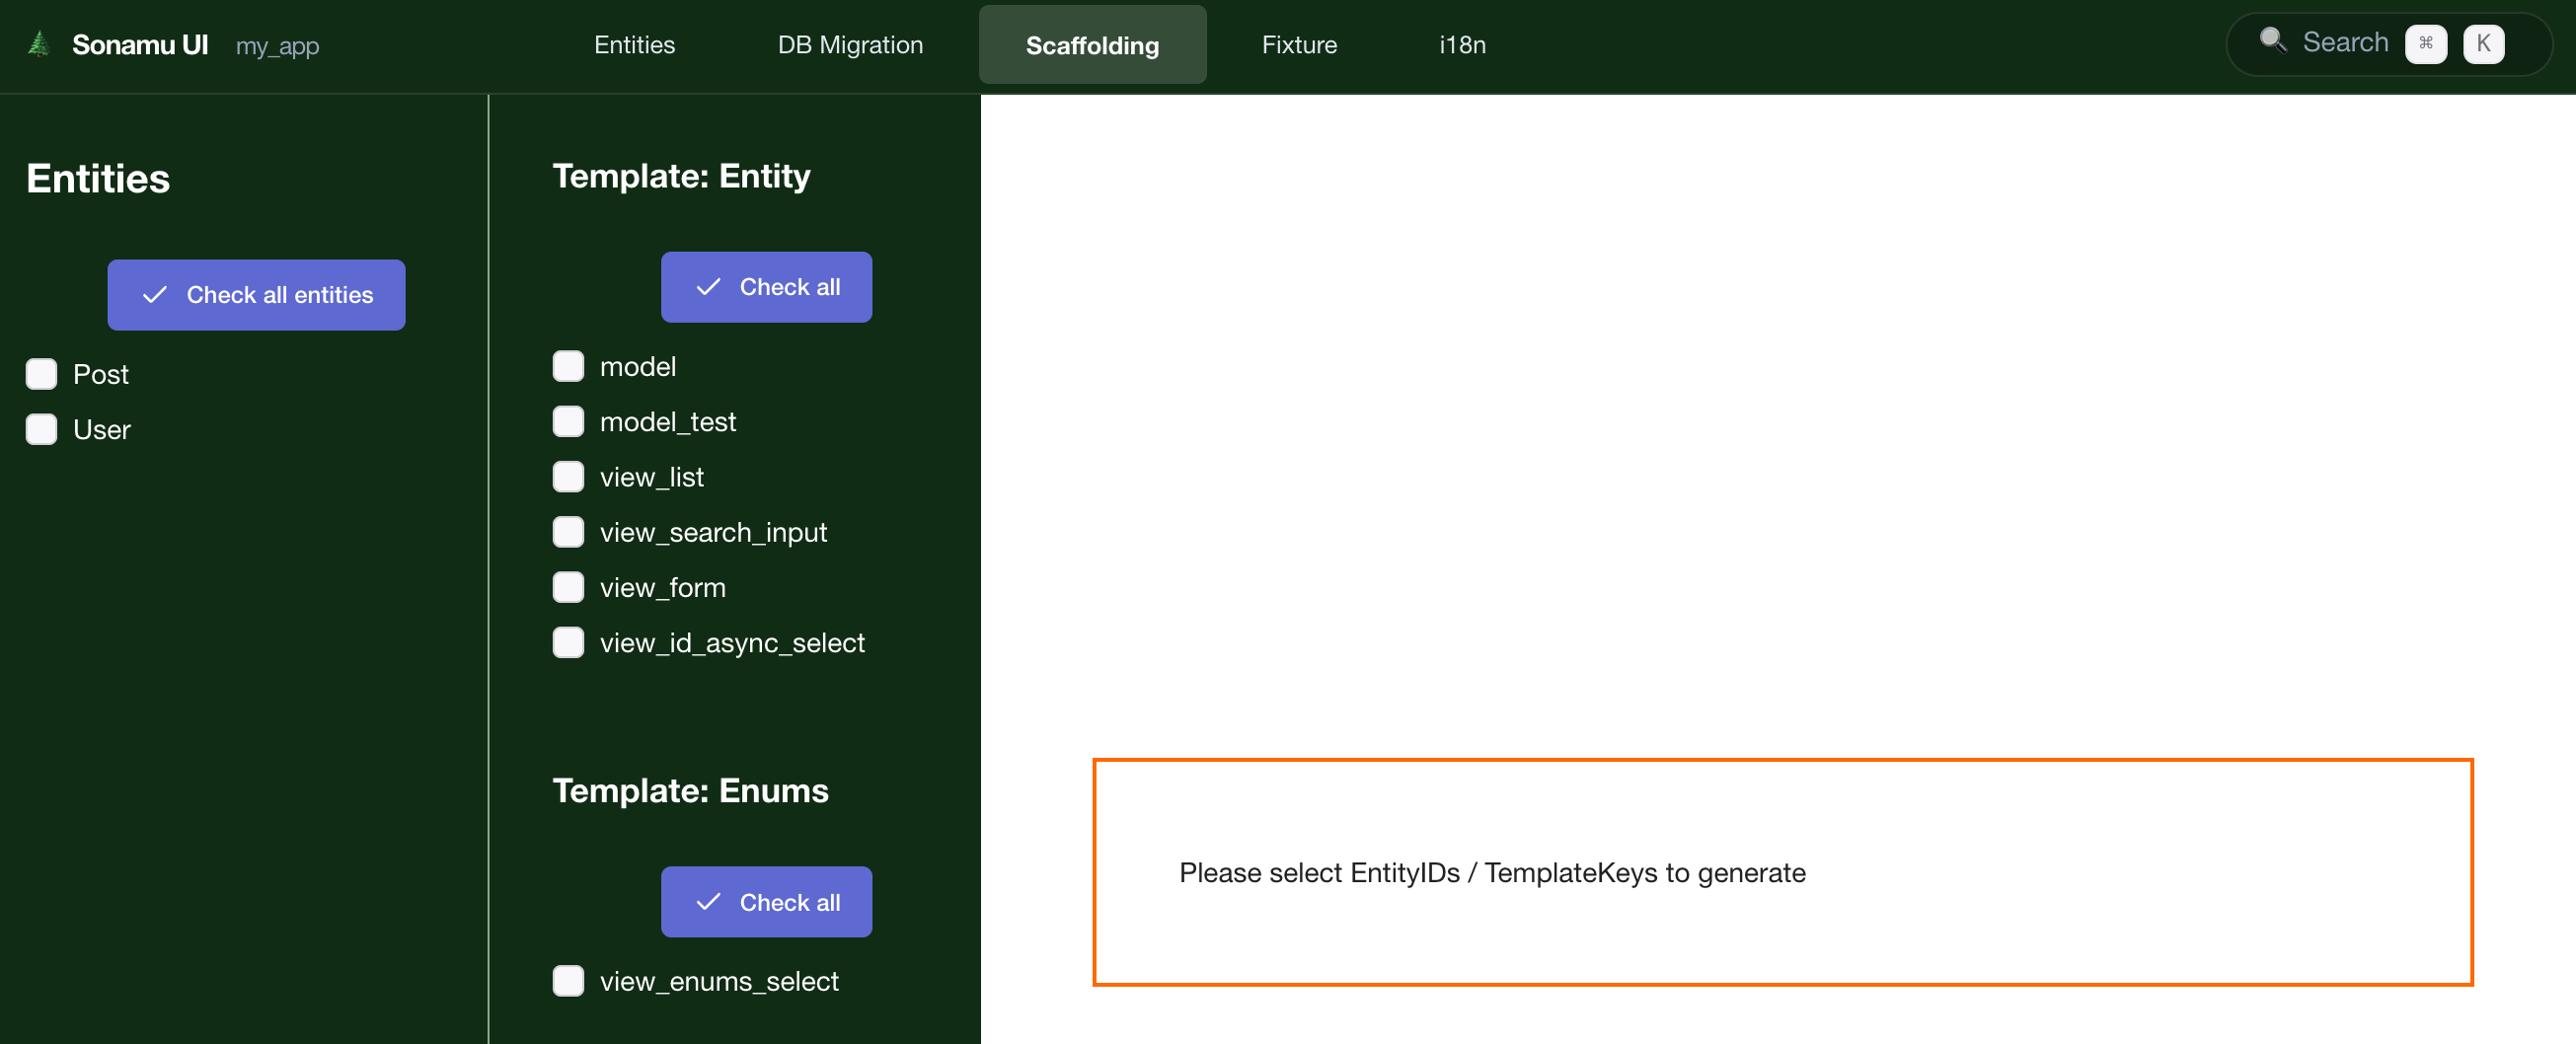
Scaffolding 탭에서는 **Entity를 기반으로 Model과 테스트 코드를 자동 생성**할 수 있습니다. CLI의 `pnpm scaffold` 명령어를 시각적 인터페이스로 제공합니다.
## Scaffolding 탭 구조
Scaffolding 탭은 두 가지 주요 영역으로 구성됩니다:
* **왼쪽 Sidebar**: Entity 목록과 선택 체크박스
* **오른쪽 Content**: 코드 생성 옵션 (Model Class, Model Test, View)
## 생성 가능한 코드
| 코드 타입 | 설명 | 상태 | CLI 명령어 |
| --------------- | -------------------- | ------- | -------------------------- |
| **Model Class** | Entity를 위한 Model 클래스 | ✅ 사용 가능 | `pnpm scaffold model` |
| **Model Test** | Model 테스트 파일 | ✅ 사용 가능 | `pnpm scaffold model_test` |
| **View List** | 목록 View 컴포넌트 | 🚧 개발 중 | - |
| **View Form** | 폼 View 컴포넌트 | 🚧 개발 중 | - |
View 컴포넌트 생성 기능은 현재 개발 중입니다. **Sonamu UI의 다른 기능**을 통해 React 컴포넌트를
생성할 수 있습니다.
## Model 클래스 생성
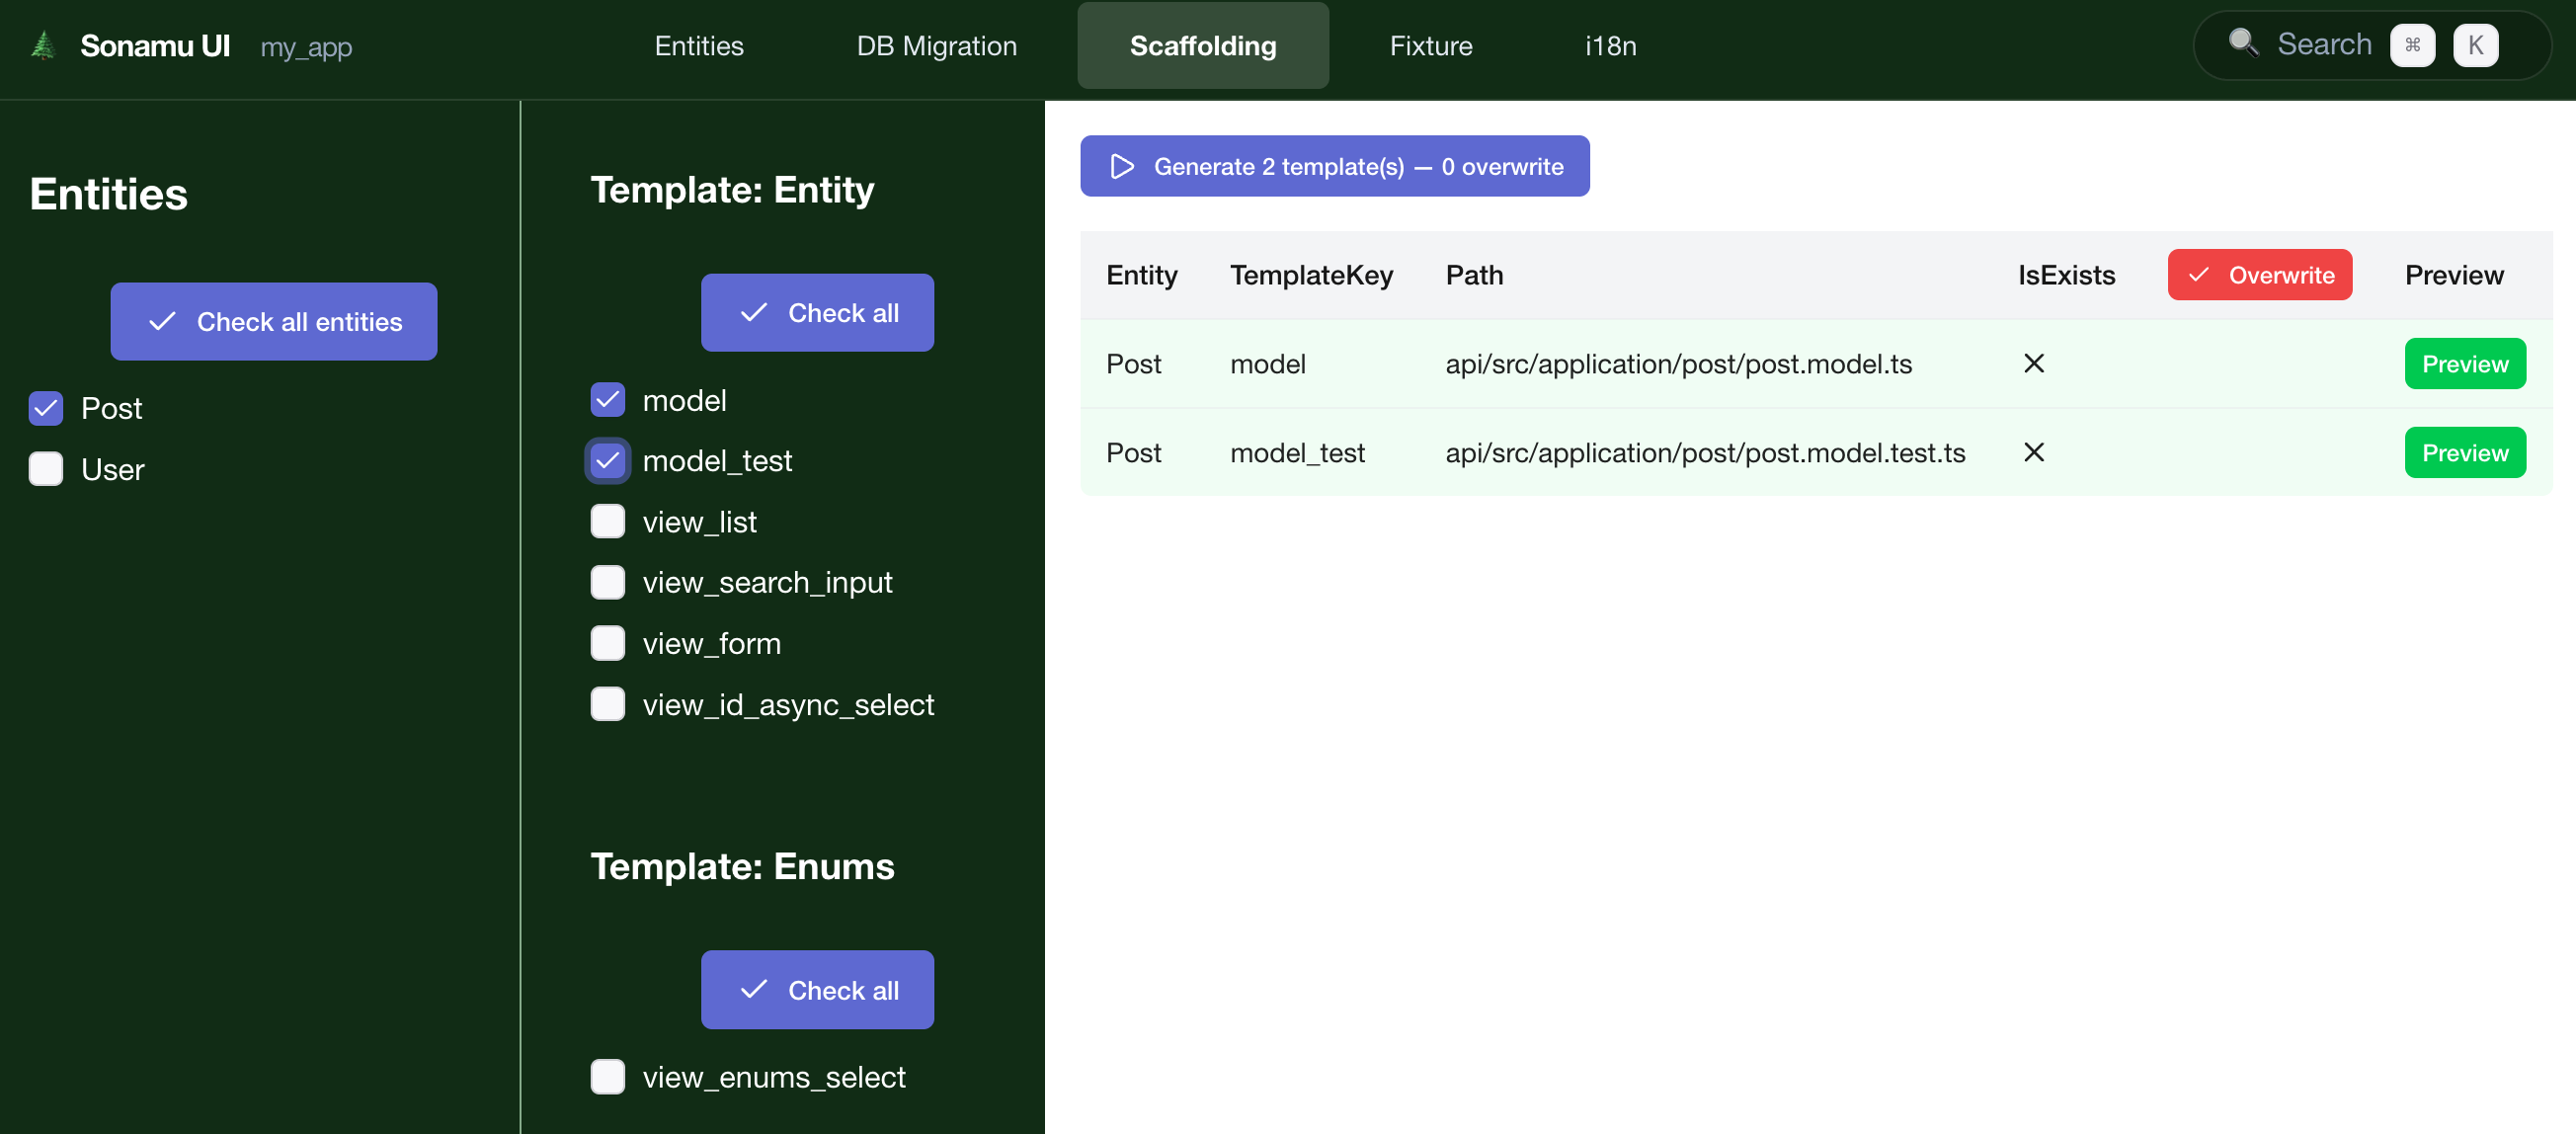
### 1. Entity 선택
왼쪽 Entity 목록에서 Model을 생성할 Entity를 선택합니다.
**단일 선택**:
```
☑ User
□ Post
□ Comment
```
**다중 선택**:
```
☑ User
☑ Post
☑ Comment
```
### 2. 생성 옵션 선택
**☑ Model Class** 체크박스를 선택합니다.
### 3. Generate 실행
**\[Generate]** 버튼을 클릭하면 다음 파일이 생성됩니다:
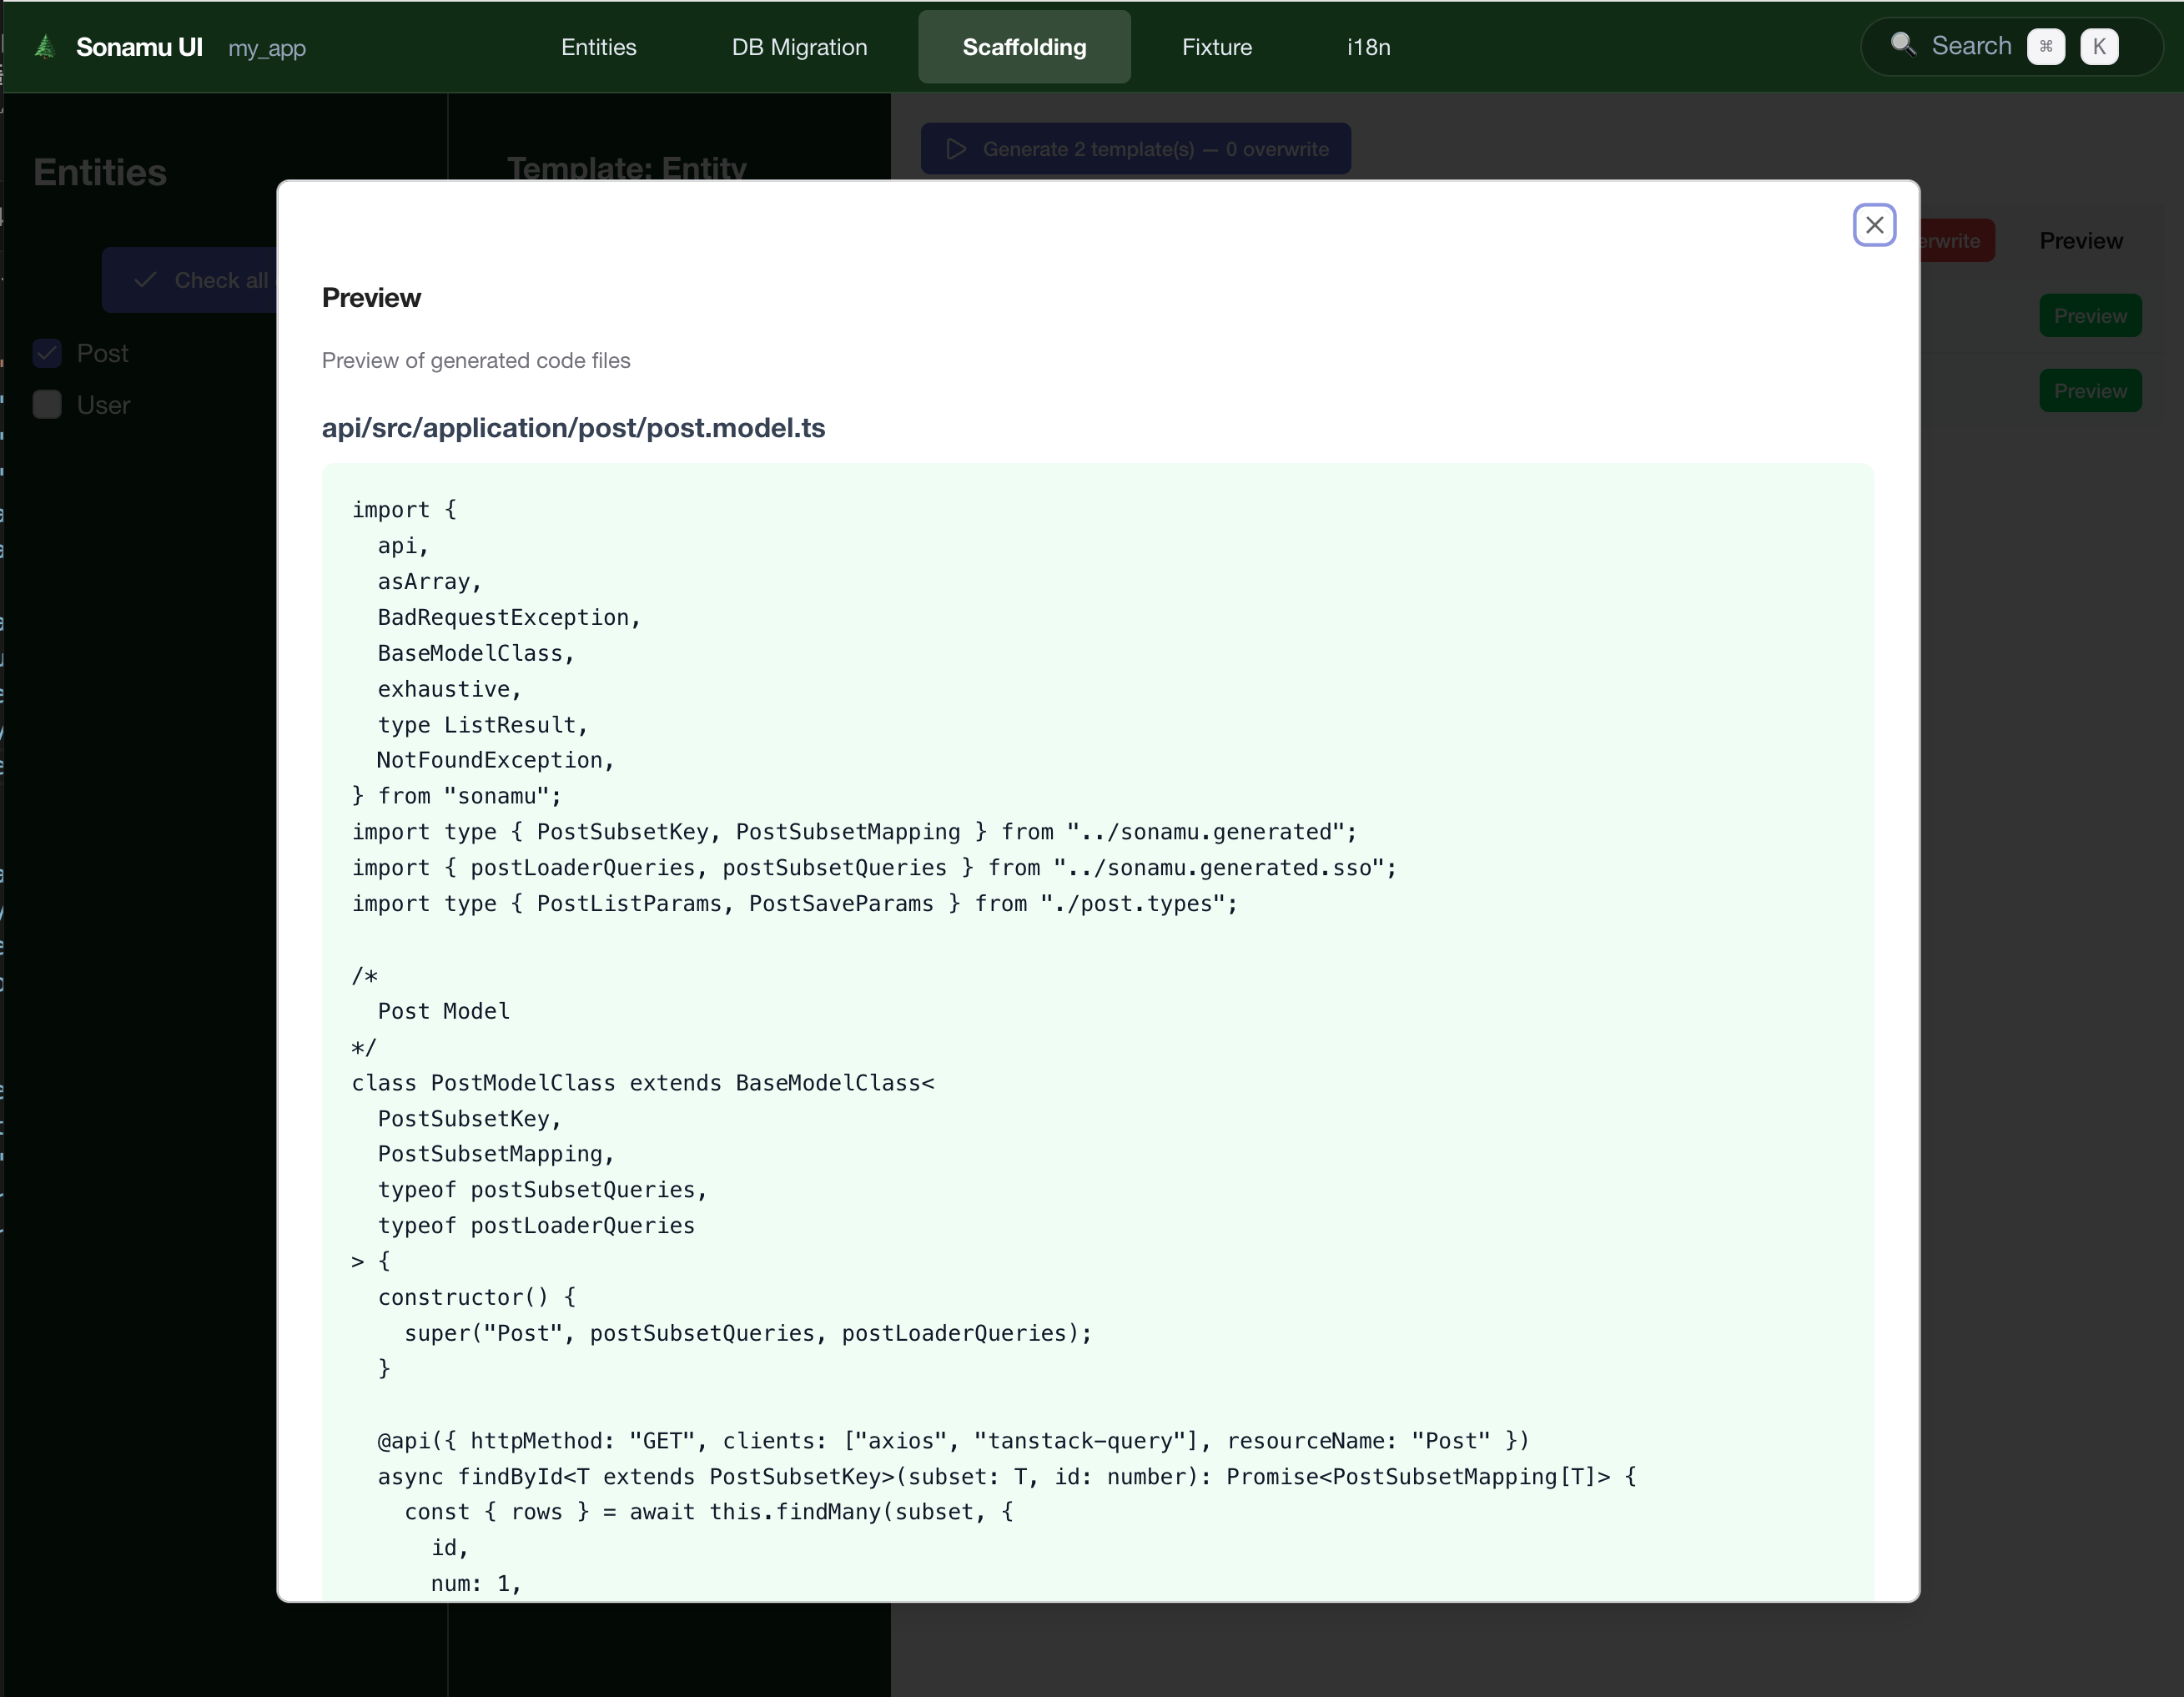
### 생성된 코드
```typescript title="src/models/User.model.ts" theme={null}
import { BaseModelClass } from "sonamu";
import type { InferSelectModel } from "sonamu";
import { UserEntity } from "../entities/User.entity";
import type { UserSubsetKey, UserSubsetMapping } from "../sonamu.generated";
import { userLoaderQueries, userSubsetQueries } from "../sonamu.generated.sso";
export type User = InferSelectModel;
class UserModelClass extends BaseModelClass<
UserSubsetKey,
UserSubsetMapping,
typeof userSubsetQueries,
typeof userLoaderQueries
> {
constructor() {
super("User", userSubsetQueries, userLoaderQueries);
}
// TODO: Model 메서드 추가
}
export const UserModel = new UserModelClass();
```
**자동 생성되는 기능**:
* ✅ TypeScript 타입 정의
* ✅ Entity 연결
* ✅ BaseModel 상속
* ✅ 기본 CRUD 메서드
## Model 테스트 생성
### 1. Entity 선택
Model과 동일하게 Entity를 선택합니다.
### 2. 생성 옵션 선택
**☑ Model Test** 체크박스를 선택합니다.
**Model과 Test 동시 생성**: Model Class와 Model Test를 동시에 선택하여 한 번에 생성할 수 있습니다.
### 3. Generate 실행
**\[Generate]** 버튼을 클릭하면 다음 파일이 생성됩니다:
### 생성된 코드
```typescript title="src/models/User.model.test.ts" theme={null}
import { beforeAll, describe, test } from "bun:test";
import { expect } from "@jest/globals";
import { FixtureManager } from "sonamu/test";
import { UserModel } from "./User.model";
describe("User Model", () => {
beforeAll(async () => {
await FixtureManager.sync();
});
test("findById", async () => {
const user = await UserModel.findById(1);
expect(user).toBeDefined();
expect(user?.id).toBe(1);
});
test("findMany", async () => {
const users = await UserModel.findMany({
num: 10,
page: 1,
});
expect(users.rows.length).toBeGreaterThan(0);
});
// TODO: 추가 테스트 작성
});
```
**자동 생성되는 테스트**:
* ✅ `findById`: ID로 단일 레코드 조회
* ✅ `findMany`: 목록 조회 (페이지네이션)
## 일괄 생성
### 모든 Entity에 대해 생성
1. **\[Select All]** 버튼 클릭
2. 생성 옵션 선택
3. **\[Generate]** 클릭
**결과**:
```
✓ User.model.ts created
✓ User.model.test.ts created
✓ Post.model.ts created
✓ Post.model.test.ts created
✓ Comment.model.ts created
✓ Comment.model.test.ts created
6 files generated successfully!
```
### 특정 Entity만 선택
프로젝트 초기 설정 시 모든 Entity에 대해:
```
☑ User
☑ Post
☑ Comment
☑ Category
☑ Tag
[Generate] → 10개 파일 생성
```
새 Entity 추가 시 해당 Entity만:
```
□ User (이미 생성됨)
□ Post (이미 생성됨)
☑ Product (신규)
[Generate] → 2개 파일 생성
```
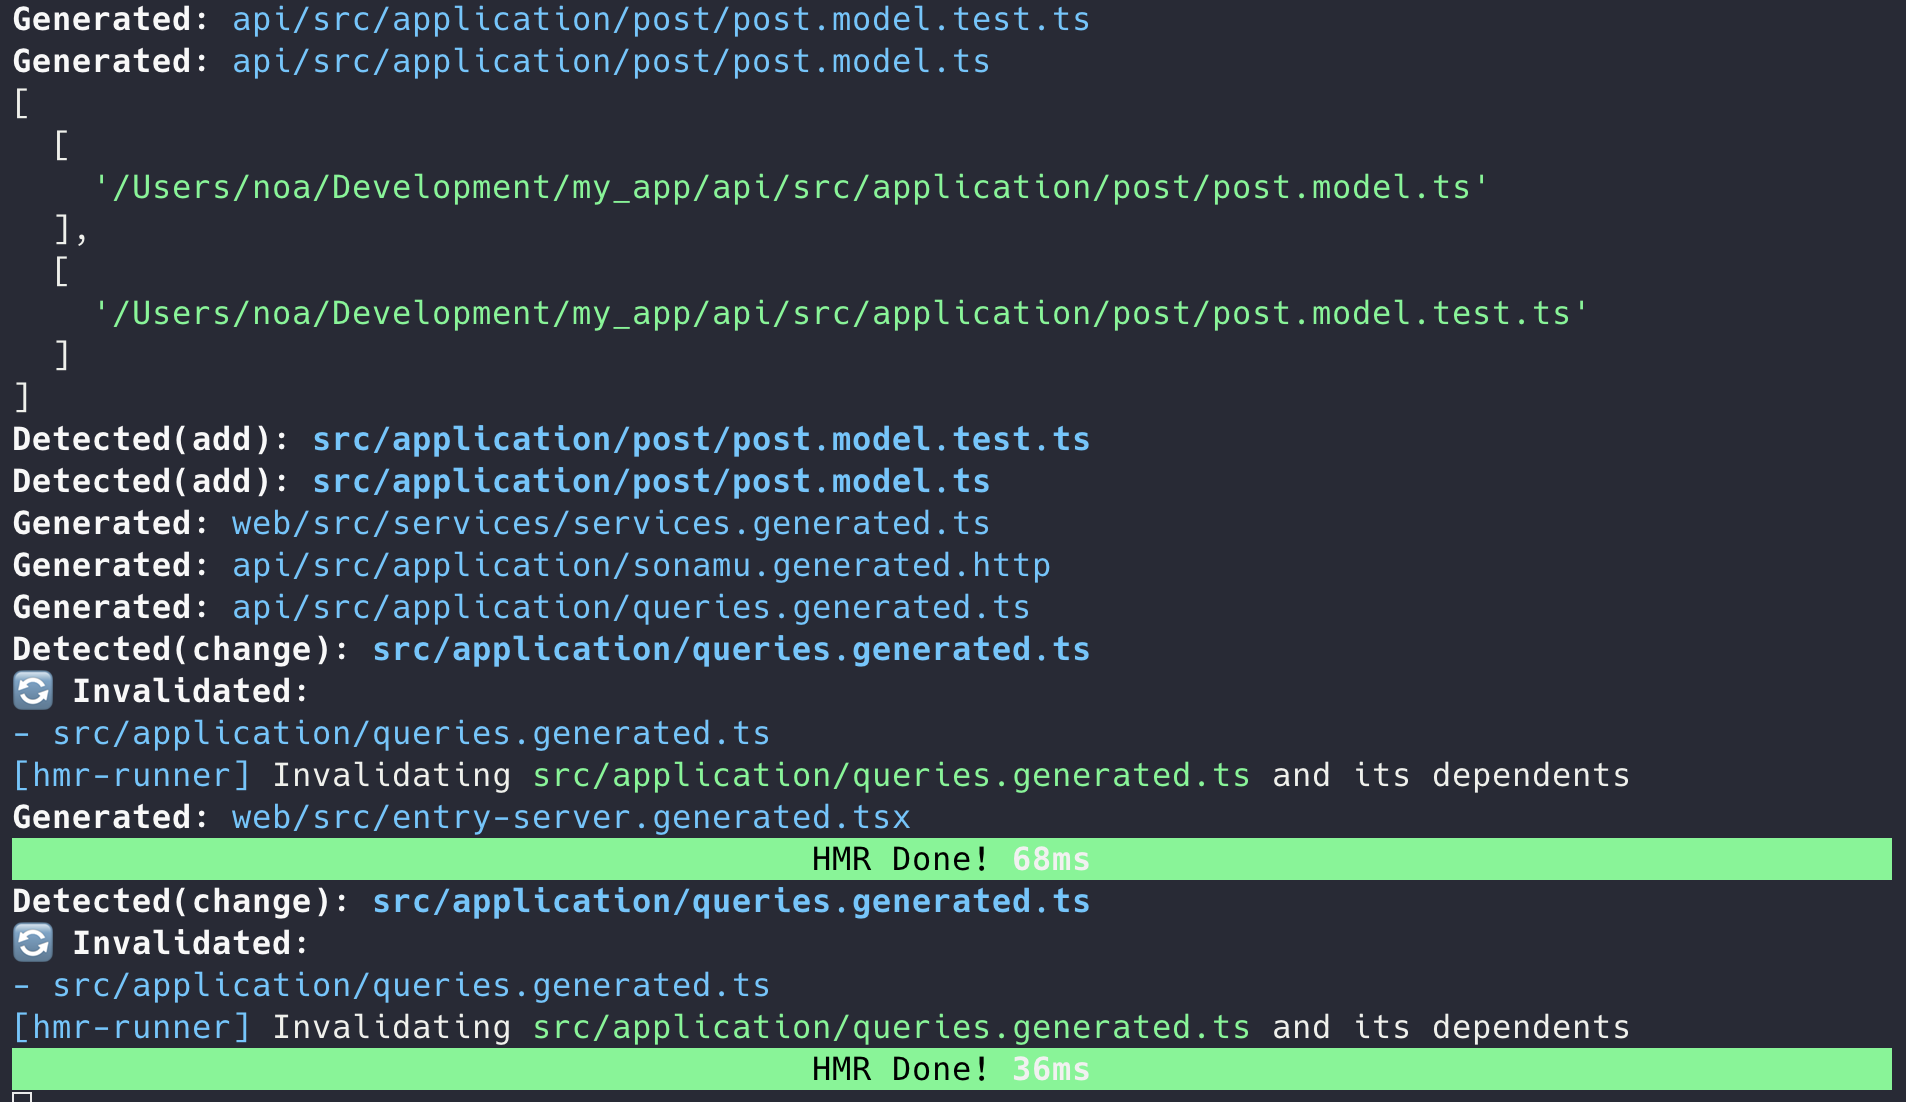
## 생성 결과 확인
### 성공 메시지
```
✅ Code Generation Complete
Generated files:
✓ src/models/User.model.ts
✓ src/models/User.model.test.ts
✓ src/models/Post.model.ts
✓ src/models/Post.model.test.ts
Total: 4 files
```
### 파일 충돌
이미 존재하는 파일을 생성하려고 하면 확인 모달이 표시됩니다:
```
⚠️ Files Already Exist
The following files will be overwritten:
• src/models/User.model.ts
• src/models/User.model.test.ts
[Cancel] [Backup & Overwrite] [Overwrite]
```
**선택 옵션**:
* **Cancel**: 생성 취소
* **Backup & Overwrite**: 기존 파일을 `.bak`로 백업 후 덮어쓰기
* **Overwrite**: 바로 덮어쓰기 (주의!)
**코드 손실 주의**: 기존 파일을 덮어쓰면 작성한 비즈니스 로직이 삭제될 수 있습니다. 커스터마이징한
Model은 백업하거나 덮어쓰기를 피하세요.
## View 생성 (개발 중)
View 컴포넌트 자동 생성 기능은 현재 개발 중입니다.
### 대안: Sonamu UI의 다른 기능 사용
현재는 다음 방법으로 View를 관리할 수 있습니다:
1. **Entity 기반 자동 생성**: Entity를 생성하면 기본 View 템플릿이 제공됩니다
2. **수동 작성**: React 컴포넌트를 직접 작성합니다
3. **컴포넌트 라이브러리**: `@sonamu-kit/react-components` 활용
View List와 View Form 생성 기능이 추가되면 이 문서가 업데이트됩니다.
## 생성 후 워크플로우
### 1. Model 메서드 추가
생성된 Model에 비즈니스 로직을 추가합니다:
```typescript title="src/models/User.model.ts" theme={null}
class UserModelClass extends BaseModelClass<
UserSubsetKey,
UserSubsetMapping,
typeof userSubsetQueries,
typeof userLoaderQueries
> {
constructor() {
super("User", userSubsetQueries, userLoaderQueries);
}
// 이메일로 사용자 찾기
async findByEmail(email: string): Promise {
return this.getPuri("r").table("users").where("email", email).first();
}
// 활성 사용자만 조회
async findActiveUsers() {
return this.getPuri("r").table("users").where("is_active", true).where("deleted_at", null);
}
}
```
### 2. 테스트 추가
생성된 테스트 파일에 추가 테스트를 작성합니다:
```typescript title="src/models/User.model.test.ts" theme={null}
describe("User Model - Extended", () => {
test("findByEmail", async () => {
const user = await UserModel.findByEmail("user@example.com");
expect(user).toBeDefined();
expect(user?.email).toBe("user@example.com");
});
test("findActiveUsers", async () => {
const users = await UserModel.findActiveUsers();
users.forEach((user) => {
expect(user.is_active).toBe(true);
});
});
});
```
### 3. API 추가
Model에 `@api` 데코레이터를 사용하여 API 엔드포인트를 추가합니다:
```typescript theme={null}
class UserModelClass extends BaseModelClass<
UserSubsetKey,
UserSubsetMapping,
typeof userSubsetQueries,
typeof userLoaderQueries
> {
constructor() {
super("User", userSubsetQueries, userLoaderQueries);
}
@api({ httpMethod: "GET" })
async findActiveUsers() {
const { qb } = this.getSubsetQueries("A");
qb.where("is_active", true);
return this.executeSubsetQuery({
subset: "A",
qb,
params: { num: 20, page: 1 },
});
}
}
```
## 실전 팁
### 1. 프로젝트 초기 설정
```
1. 모든 Entity 정의
↓
2. Scaffolding 탭에서 일괄 생성
- [Select All]
- Model Class ☑
- Model Test ☑
- [Generate]
↓
3. 각 Model에 비즈니스 로직 추가
```
### 2. 새 Entity 추가 시
```
1. Entity 탭에서 Entity 생성
↓
2. Migration 탭에서 마이그레이션 실행
↓
3. Scaffolding 탭에서 해당 Entity만 생성
↓
4. 비즈니스 로직 및 테스트 작성
```
### 3. 재생성이 필요한 경우
Entity 구조가 크게 변경되어 Model을 재생성해야 하는 경우:
```bash theme={null}
# 기존 파일 백업
cp src/models/User.model.ts src/models/User.model.ts.bak
# UI에서 재생성
[Backup & Overwrite]
# 백업 파일에서 커스텀 로직 복원
```
## 다음 단계
Model 클래스 자세히 알아보기
CLI로 코드 생성하기